Warning: Use of undefined constant title - assumed 'title' (this will throw an Error in a future version of PHP) in /data/www.zhuangjiba.com/web/e/data/tmp/tempnews8.php on line 170
联想笔记本外接显示器设置方法
装机吧
Warning: Use of undefined constant newstime - assumed 'newstime' (this will throw an Error in a future version of PHP) in /data/www.zhuangjiba.com/web/e/data/tmp/tempnews8.php on line 171
2020年06月26日 08:36:00
对于刚购买的联想笔记本如果想为其增加一块外置扩展屏幕我们需要怎么做呢?联想笔记本外接显示器设置方法其实也非常简单,我们只需要一条 HDMI 转 VGA 线,再通过系统中的简单设置即可完成笔记本外接显示器设置。
1、准备您的任意一个品牌笔记本并打开。

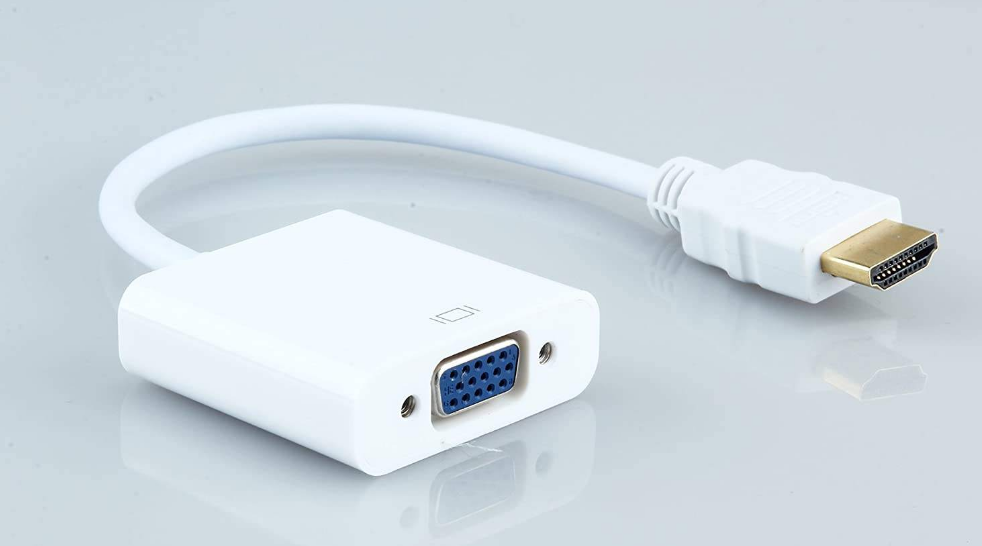
2、准备一条 HDMI 转 VGA 线。
3、将转接线连接显示器,另一头连接转换器,插入电脑,启动显示器。
4、在桌面右键单击,在菜单中选择“显示设置”。

5、在弹出的显示窗口中,点击“标识”按钮。这个时候屏幕左下角就出来一个数字,数字对应的就是屏幕。默认是笔记本屏幕对应1,外接屏幕对应2。这个数字就是屏幕的编号。用来对显示做设置时候用。相当于显示器的名字。


6、设置完成就可以看到效果啦。

以上就是联想笔记本外接显示器设置方法,当然这种方法也适用于其它品牌的笔记本或者台式机,方法在操作过程中基本上都一样。
喜欢22


