Warning: Use of undefined constant title - assumed 'title' (this will throw an Error in a future version of PHP) in /data/www.zhuangjiba.com/web/e/data/tmp/tempnews8.php on line 170
企业版win7镜像系统下载安装教程
装机吧
Warning: Use of undefined constant newstime - assumed 'newstime' (this will throw an Error in a future version of PHP) in /data/www.zhuangjiba.com/web/e/data/tmp/tempnews8.php on line 171
2022年03月15日 15:09:00
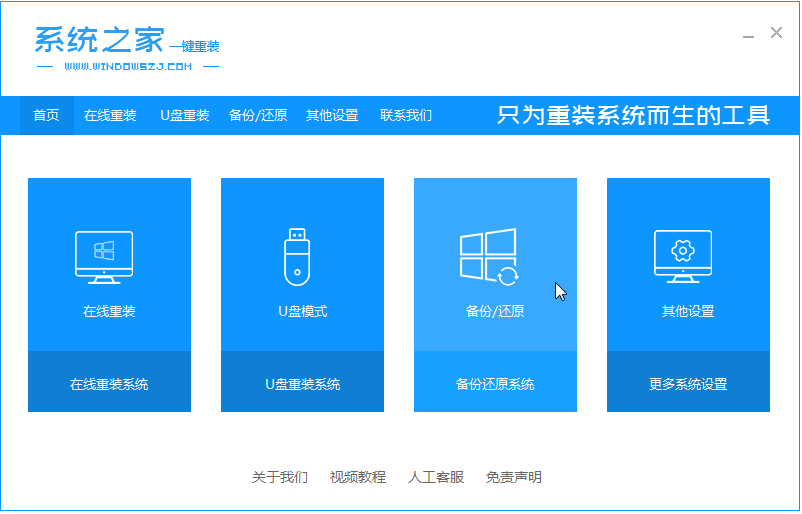
系统镜像用于还原计算机的内容,它包含了我们运行系统所需的驱动器。随着科技的发展,现在我们经常使用它安装系统。可能很多朋友对它安装系统不怎么了解,那么我就给大家介绍一下企业版win7镜像系统下载安装教程,大家一起来看看吧。
1、把win7企业版系统镜像解压到非系统盘,下载安装系统之家一键重装系统软件并打开,单击[备份和还原]。安装之前注意备份好系统盘上面重要的数据。

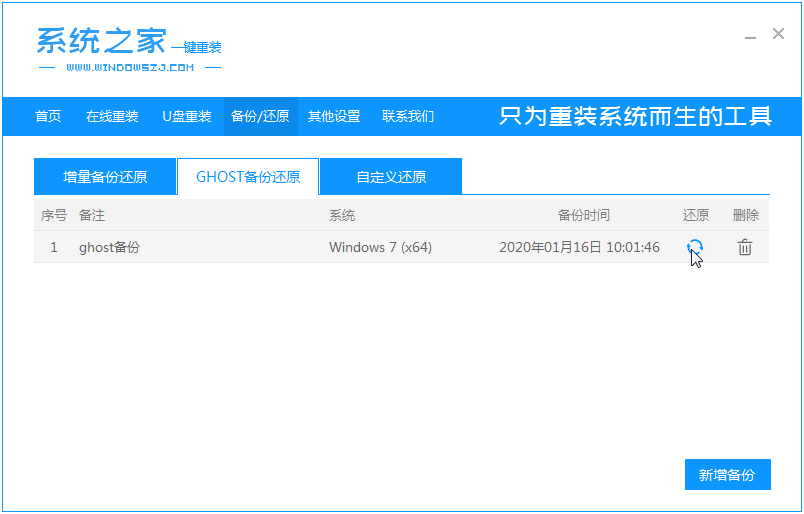
2、选择“ghost备份和还原”,软件将自动检测下载的win7企业版,选择后单击[还原]按钮。
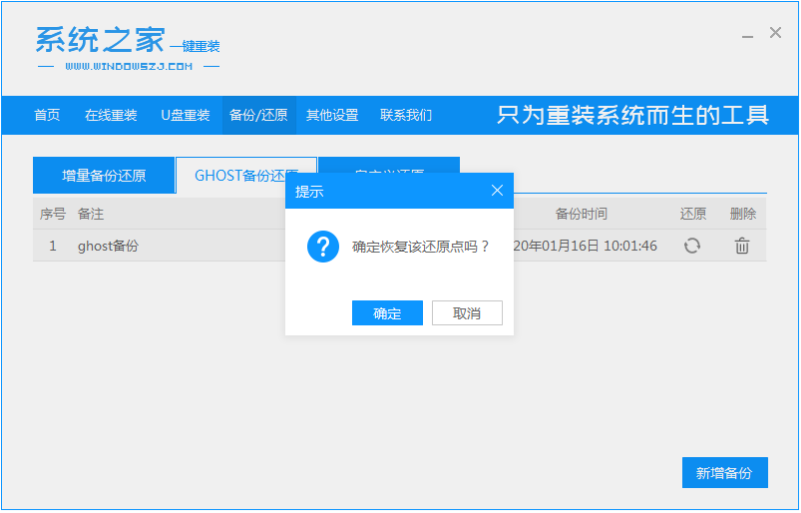
3、当出现这个界面的时候,单击[确定]。
4、等待软件自动下载PE映像。
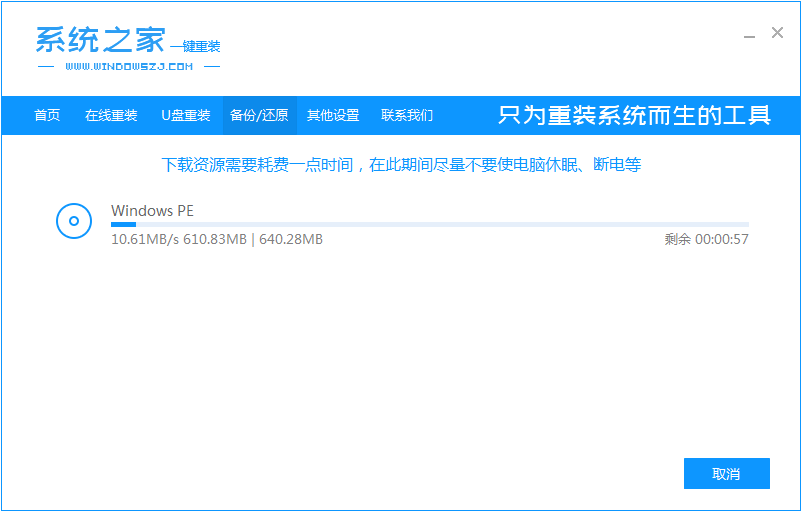
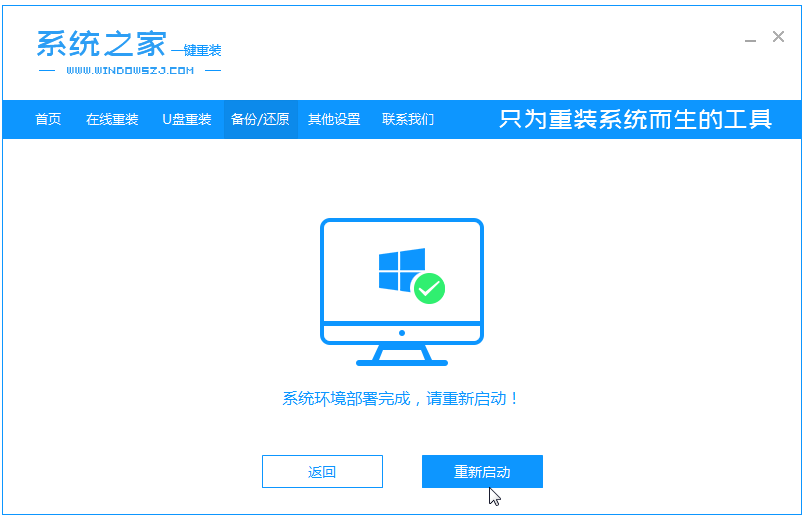
5、部署完成后,重新启动电脑。
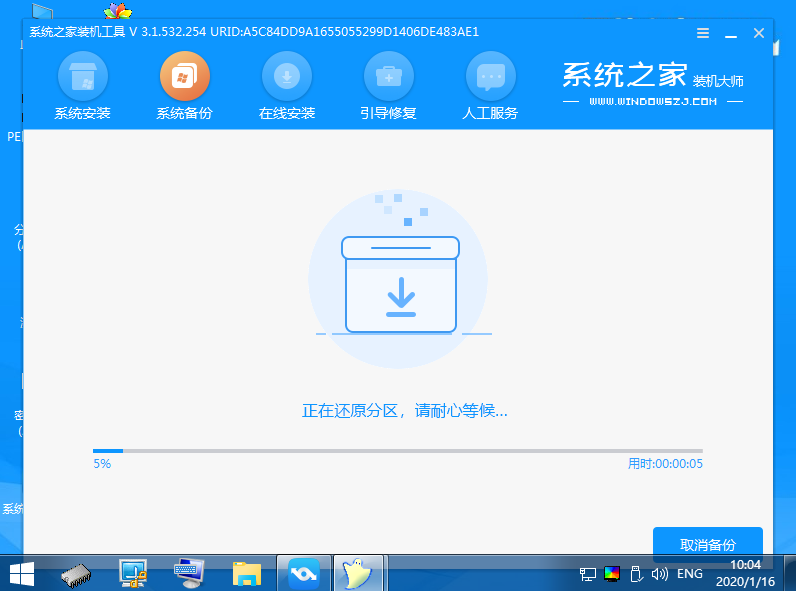
6、进入pe后,软件开始安装win7系统,并在安装成功后自动重新启动计算机。
7、最后进入到win7企业版桌面就是安装成功啦。

以上就是企业版win7镜像系统下载安装教程啦,希望能帮助到大家。


