Warning: Use of undefined constant title - assumed 'title' (this will throw an Error in a future version of PHP) in /data/www.zhuangjiba.com/web/e/data/tmp/tempnews8.php on line 170
软碟通制作u盘启动教程
装机吧
Warning: Use of undefined constant newstime - assumed 'newstime' (this will throw an Error in a future version of PHP) in /data/www.zhuangjiba.com/web/e/data/tmp/tempnews8.php on line 171
2021年02月01日 12:38:00
软碟通是一个类似于WinISO的ISO文件编辑工具,操作简单,界面简洁,可以用来制作u盘启动盘等。有网友想了解如何用软碟通制作u盘启动?下面小编教下大家软碟通制作u盘启动教程。
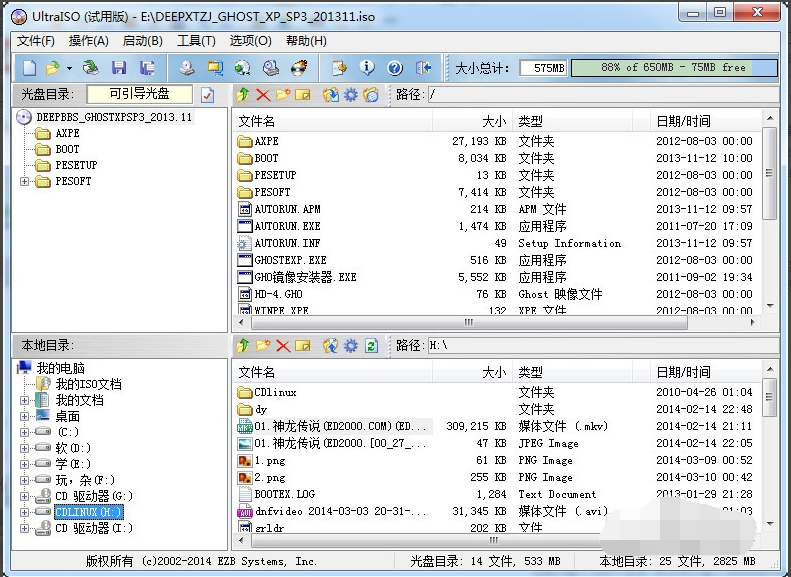
1、首先我们先安装软碟通,完成安装后打开软碟通,文件->打开,打开我们的iso镜像
2、然后选择我们的U盘。

3、然后点击启动->写入硬盘映像。

4、写入方式有zip和hdd两种,一般我们选择hdd或hdd+,选择了写入方式之后要先格式化,格式化完毕之后点击写入等待写入完毕即可。

5、选择好写入方式直接写入即可完成U盘启动盘的制作。
制作好u盘启动盘后就可以插入电脑进行系统安装啦。
以上便是软碟通制作u盘启动教程,有需要的小伙伴可以参考教程操作哦。
喜欢22


