Warning: Use of undefined constant title - assumed 'title' (this will throw an Error in a future version of PHP) in /data/www.zhuangjiba.com/web/e/data/tmp/tempnews8.php on line 170
u盘装win7系统
装机吧
Warning: Use of undefined constant newstime - assumed 'newstime' (this will throw an Error in a future version of PHP) in /data/www.zhuangjiba.com/web/e/data/tmp/tempnews8.php on line 171
2020年06月11日 09:06:02
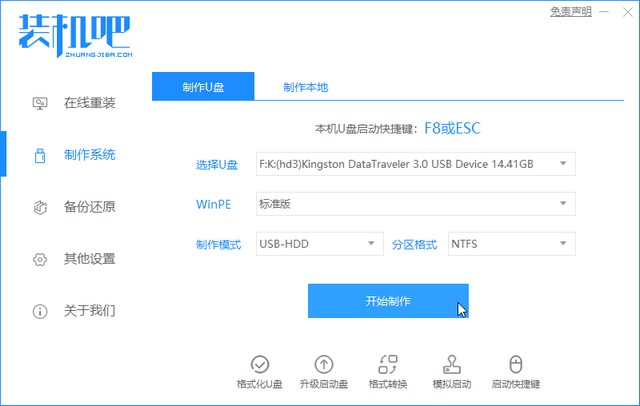
现在的电脑已经成为了每个家庭都有的必需品,很多东西都能通过电脑来操作完成。使用电脑久了,总会出现一些故障。最简单粗暴的方法就是重装系统,如果电脑开不了机的话,我们就使用u盘来装win7系统。具体怎么操作,请看小编来演示一遍。
1、将u盘插入到电脑中,点击开始制作。

2、选择你要安装的win7系统。
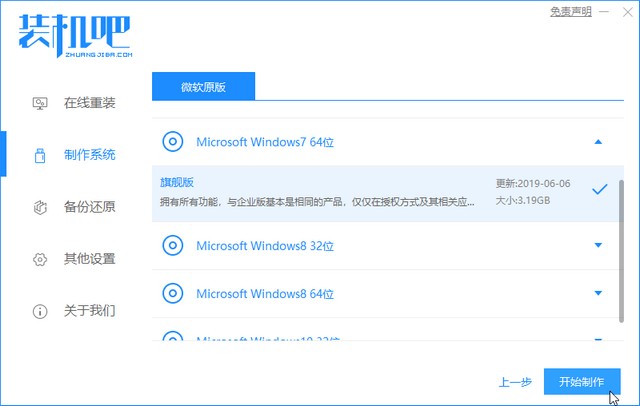
3、制作系统u盘会清除所有数据请注意备份。
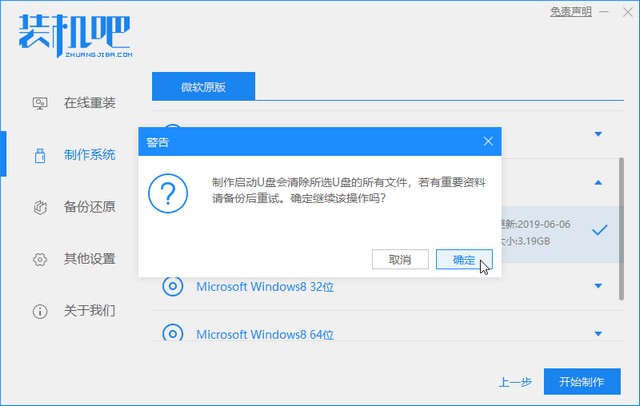
4、等待下载资源完成。

5、启动u盘制作完成,点击取消,拔出u盘即可。
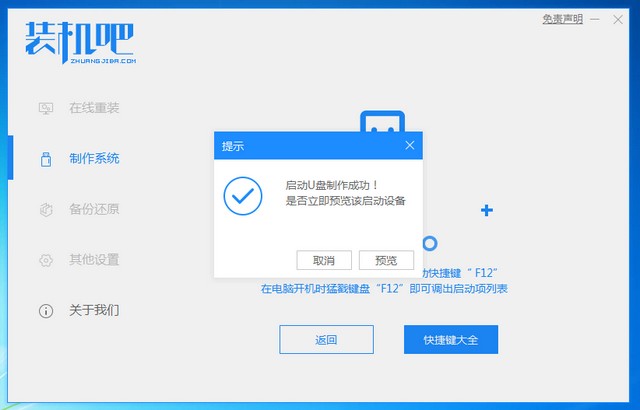
6、将u盘插入需要安装的电脑后,不停的按u盘启动快捷键,一般为“f11或f12”,具体需要可自行百度。选择进入pe系统。
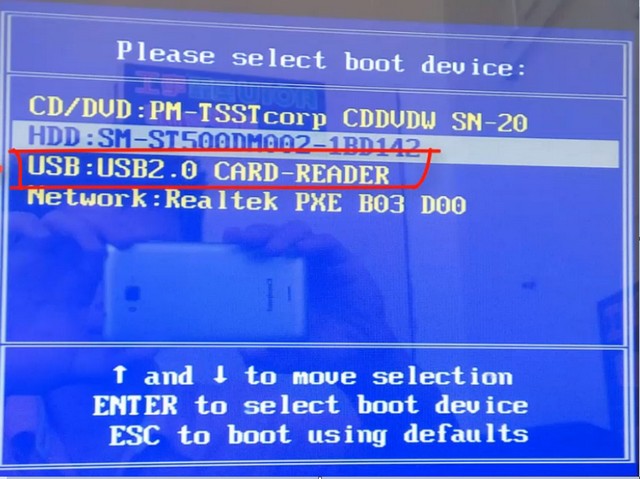
7、进入到pe系统后,选择你需要安装的win7版本,等待安装完成重启即可。
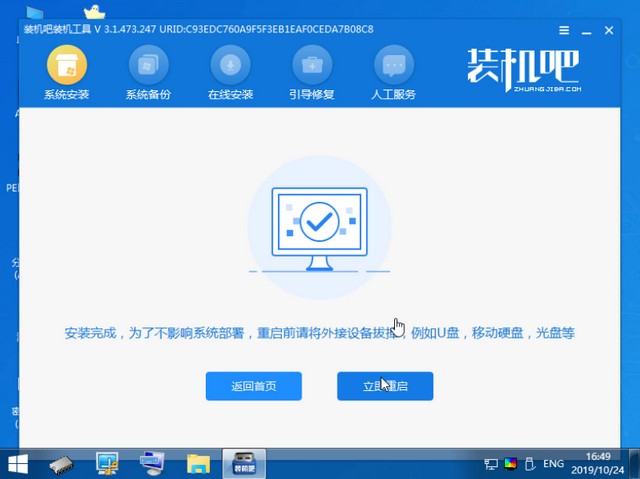
8、重启后可以成功的进入到win7桌面即可。
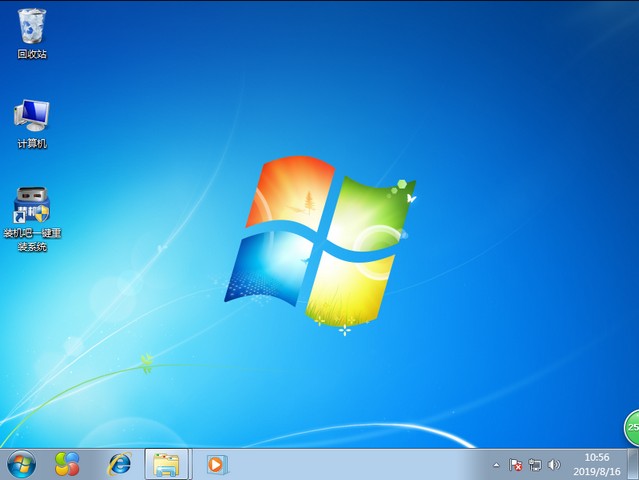
以上就是使用u盘安装win7的详细操作步骤,希望能帮到你们。


