Warning: Use of undefined constant title - assumed 'title' (this will throw an Error in a future version of PHP) in /data/www.zhuangjiba.com/web/e/data/tmp/tempnews8.php on line 170
微软最新系统win11下载安装教程
装机吧
Warning: Use of undefined constant newstime - assumed 'newstime' (this will throw an Error in a future version of PHP) in /data/www.zhuangjiba.com/web/e/data/tmp/tempnews8.php on line 171
2021年07月20日 12:10:03
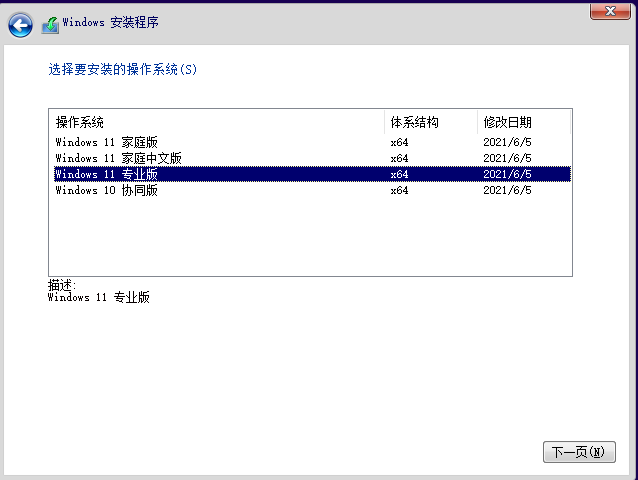
自从win10系统发布了有六年以后,微软终于又推出了一款全新的电脑操作系统了,下面我们就来看看这个全新的win11系统镜像如何安装吧。
1、首先我们下载好win11镜像文件之后,解压运行,选择要安装的系统。

2、接着来到分区界面,选择我们要安装的地方。
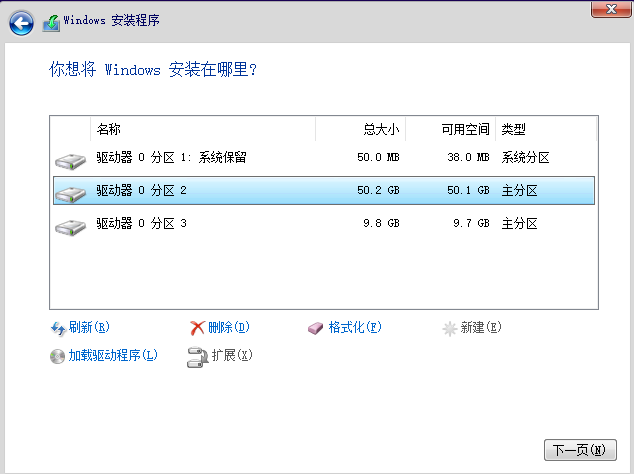
3、完成以上操作后系统开始安装工作,耐心等待,注意中途不要关闭电脑。
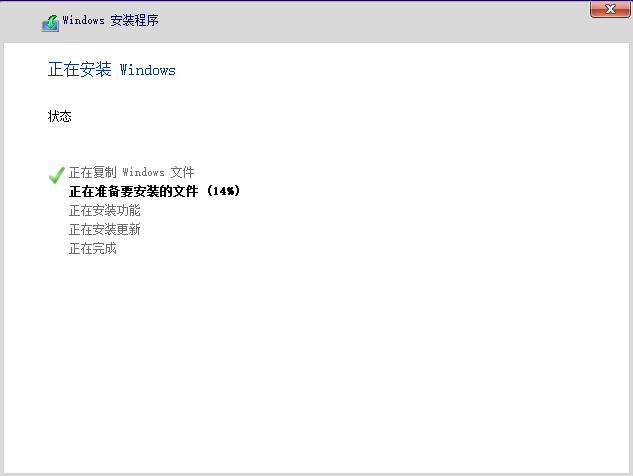
4、当镜像安装完成后我们点击立即重启即可。
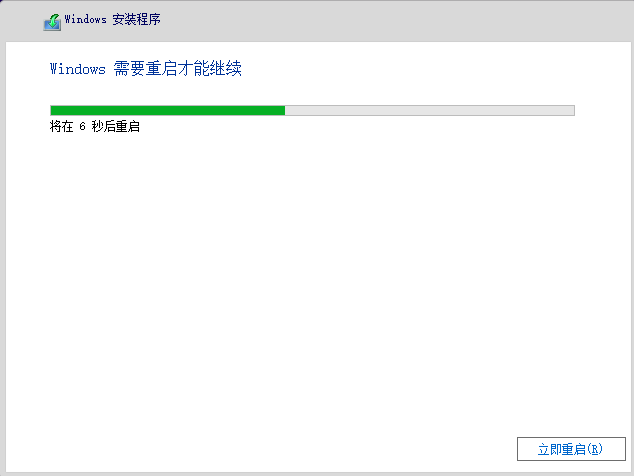
5、接下来自行完成一系列的基础设置即可。
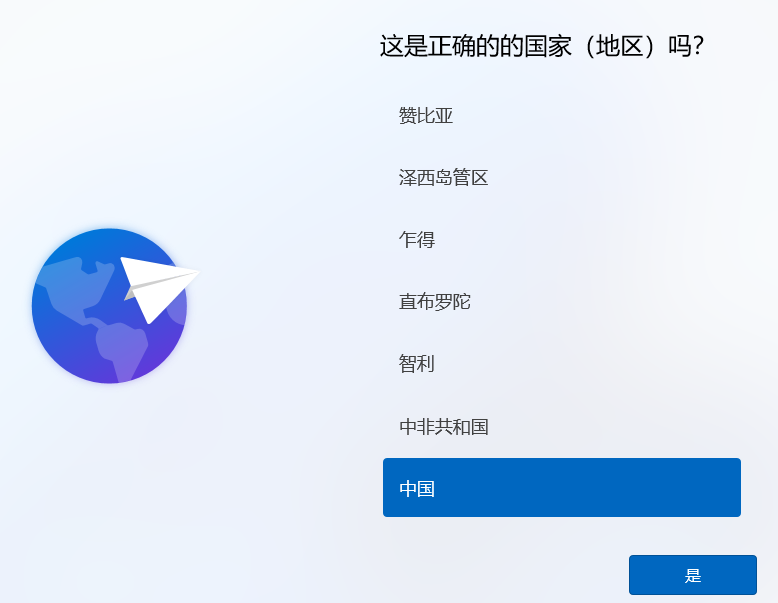
6、操作完上述的基本设置后电脑会再次重启,等待一小段时间就行了。

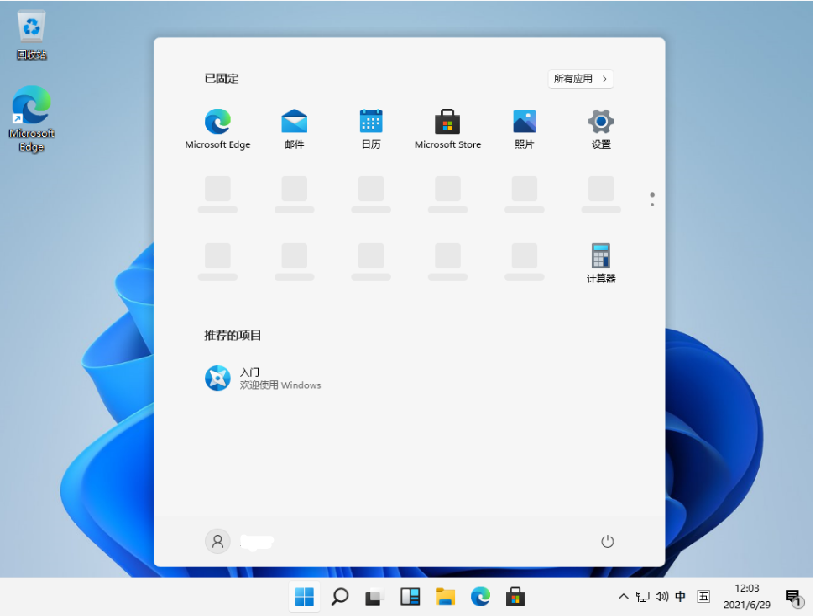
7、系统安装完成后来到windows11桌面,可以开始使用了。
看完上述步骤后大家学会了安装windows11镜像了嘛?如果有问题可以在小白一键重装系统微信公众号留言咨询哦。


