Warning: Use of undefined constant title - assumed 'title' (this will throw an Error in a future version of PHP) in /data/www.zhuangjiba.com/web/e/data/tmp/tempnews8.php on line 170
网络共享设置方法
装机吧
Warning: Use of undefined constant newstime - assumed 'newstime' (this will throw an Error in a future version of PHP) in /data/www.zhuangjiba.com/web/e/data/tmp/tempnews8.php on line 171
2020年08月01日 10:46:00
网络共享怎么设置呢?在公司里面我们经常需要设置一些共享文件夹来协同工作,这样能大大提高工作效率,那么小编今天要给大家介绍的就是网络共享设置的方法了,有兴趣的小伙伴可以看看哦。
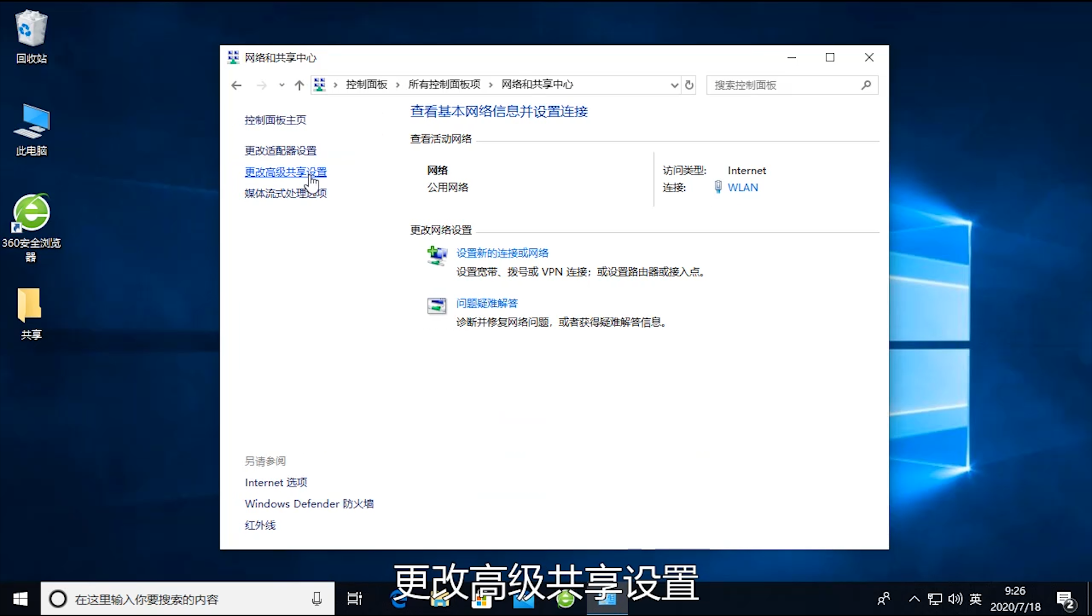
1、点击开始菜单--打开控制面板--打开网络和共享中心--点击更改高级共享设置。
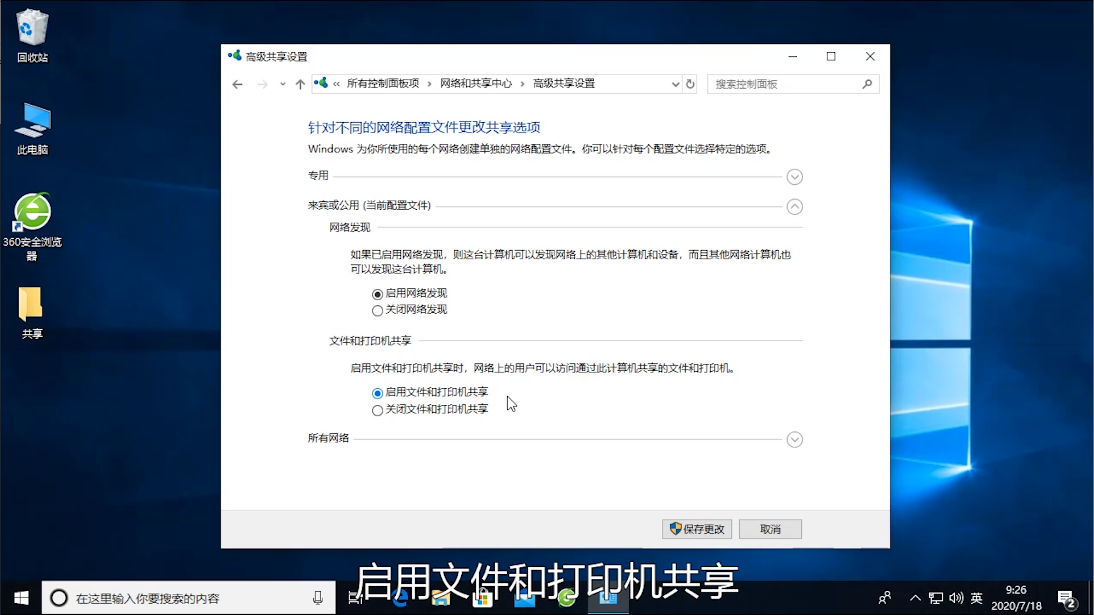
2、在共享设置里面,将当前配置文件的网络发现与文件和打印机共享设置为启用。然后保存更改。
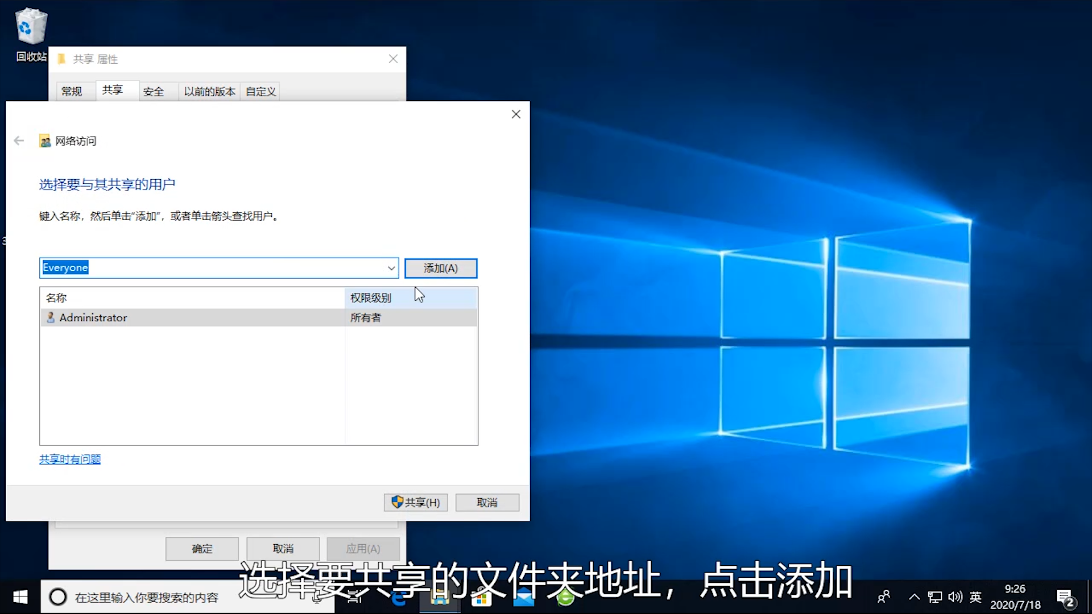
3、右键点击需要共享的文件夹打开属性,点击共享,然后设置添加一个Everyone用户。
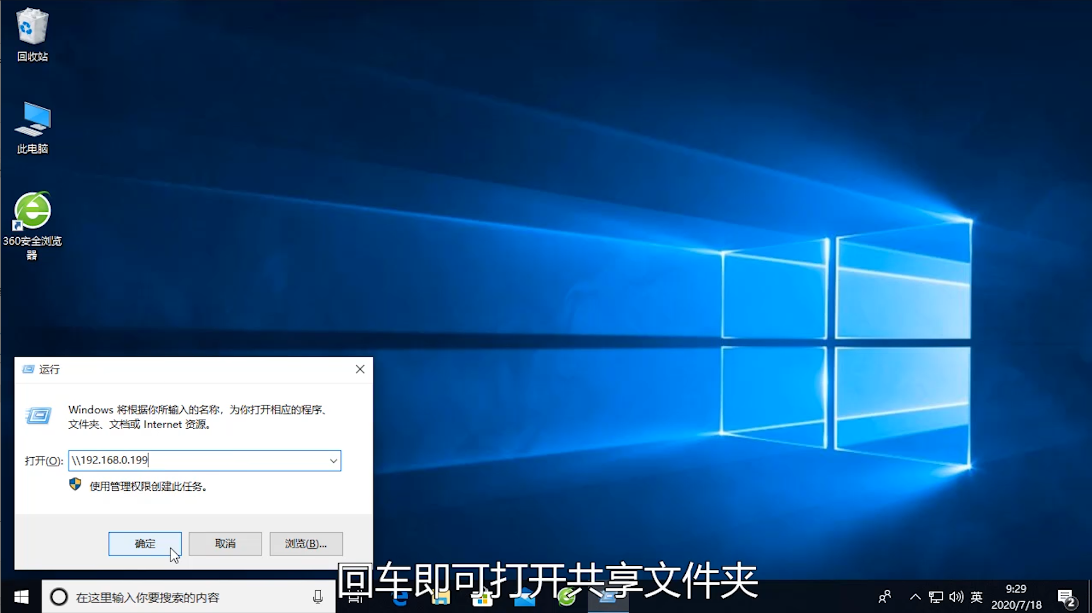
4、然后在另一台电脑里面按Win+R输入共享文件所在的位置就可以了。
以上就是网络共享的设置方法啦!
喜欢22


