Warning: Use of undefined constant title - assumed 'title' (this will throw an Error in a future version of PHP) in /data/www.zhuangjiba.com/web/e/data/tmp/tempnews8.php on line 170
一键ghost重装系统下载安装教程
装机吧
Warning: Use of undefined constant newstime - assumed 'newstime' (this will throw an Error in a future version of PHP) in /data/www.zhuangjiba.com/web/e/data/tmp/tempnews8.php on line 171
2022年06月12日 10:00:00
在最早安装系统的时候都是使用的手动ghost安装系统,不仅安装麻烦,而且页面全都是英文,现在随着时代发展ghost能够一键安装系统了,那么一键ghost系统怎么安装呢,接下来小编就把g一键ghost重装系统下载安装教程分享给大家。
工具/原料:
系统版本:windows10系统
品牌型号:戴尔xps系列(XPS13、XPS15)
软件版本:一键ghost重装系统
一键ghost重装系统步骤:
1.首先我们需要备份好电脑C盘及桌面重要文件,下载好ghost系统镜像文件,准备一个、一键还原ghost工具。
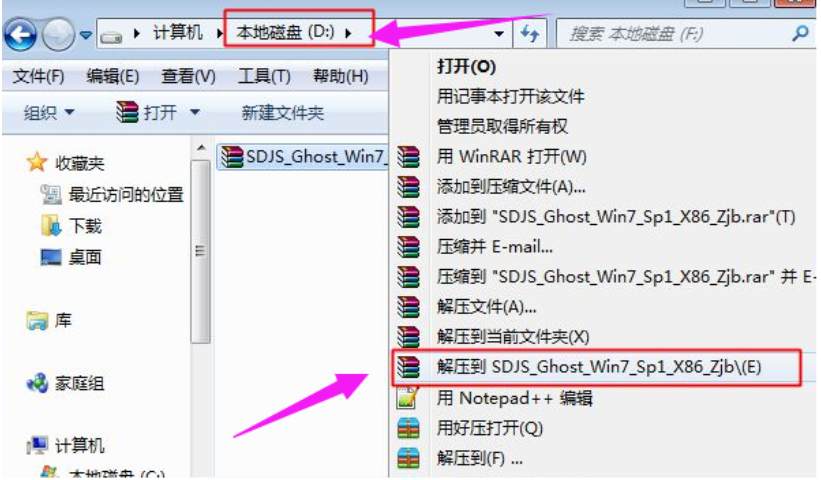
2.然后我们将ghost系统镜像解压到除C盘外的其他磁盘里面,保证磁盘空间足够解压。右键使用WinRAR等工具解压出来。
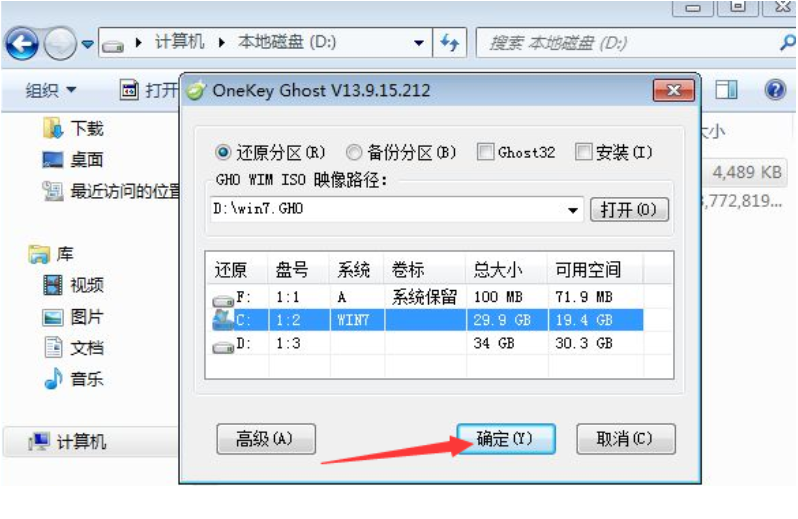
3.接着我们打开一键还原ghost工具,选择“还原分区”,映像路径选择win7.gho文件,选择系统要安装的位置,一般是C盘,或者根据磁盘容量选择安装位置,点击确定。
4.弹出窗口准备开始程序安装系统,点击“是”。

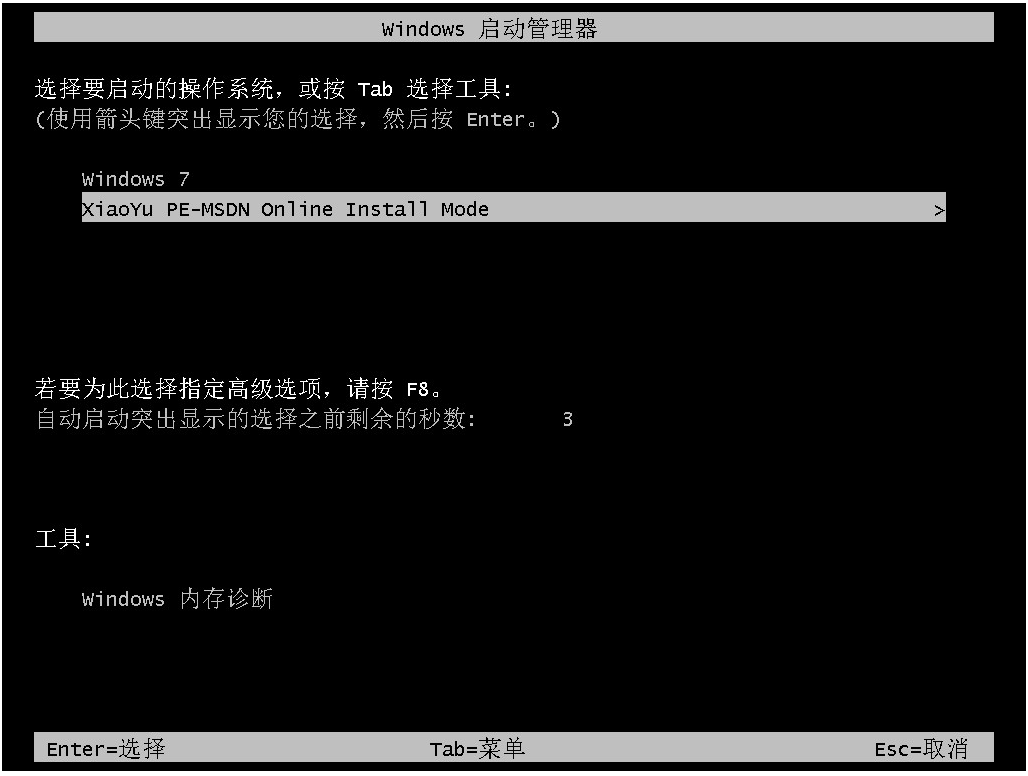
5.重启时进入到启动项页面,我们选择”OneKey Ghost“回车进入系统。
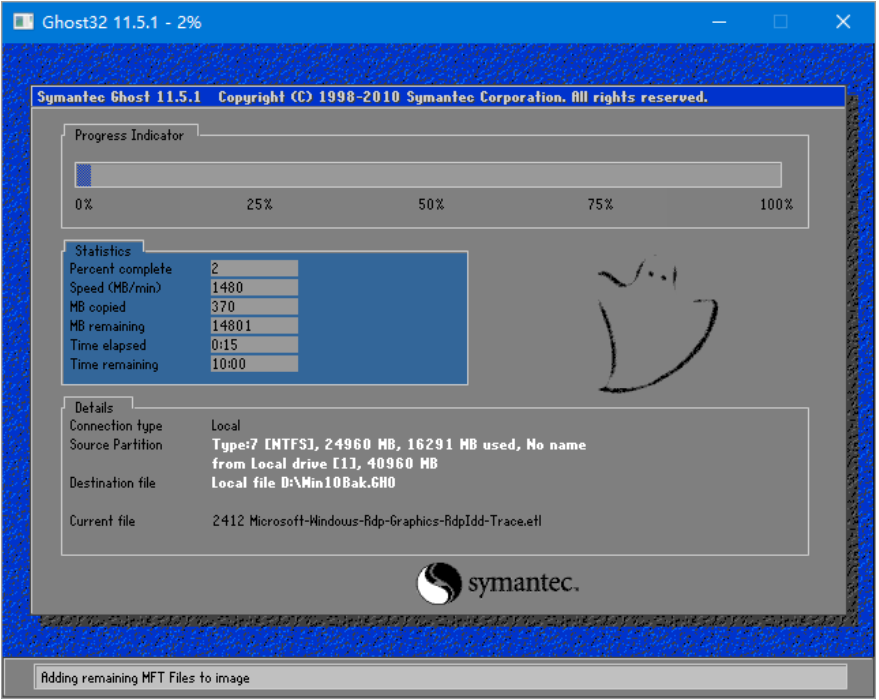
6.进入到ghost系统部署,耐心等待即可,最后重启电脑进入系统。
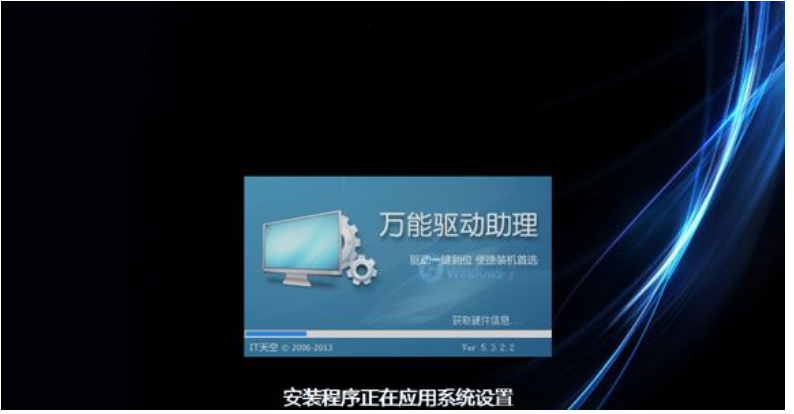
7.重启后电脑开始安装”系统组件和驱动安装“。
8.安装完成后,我们再次重启电脑,进入到系统桌面时,安装就成功啦。

总结:
以上就是一键ghost重装系统步骤的内容,希望可以帮助到大家。
喜欢22


