Warning: Use of undefined constant title - assumed 'title' (this will throw an Error in a future version of PHP) in /data/www.zhuangjiba.com/web/e/data/tmp/tempnews8.php on line 170
如何安装微软新系统windows11
装机吧
Warning: Use of undefined constant newstime - assumed 'newstime' (this will throw an Error in a future version of PHP) in /data/www.zhuangjiba.com/web/e/data/tmp/tempnews8.php on line 171
2021年07月29日 08:32:02
微软新系统windows11它了采用新技术和升级安装策略,电脑安装更加方便,一键完成,非常的便捷快速;那么如何安装微软新系统windows11呢?下面就随小编一起去看看微软windows11的安装方法吧。
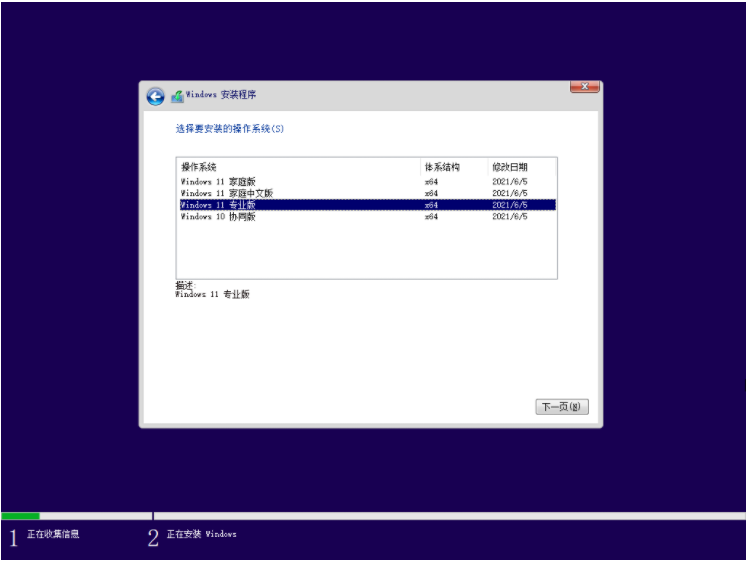
1、首先我们下载好win11镜像文件之后,解压运行,选择要安装的系统。

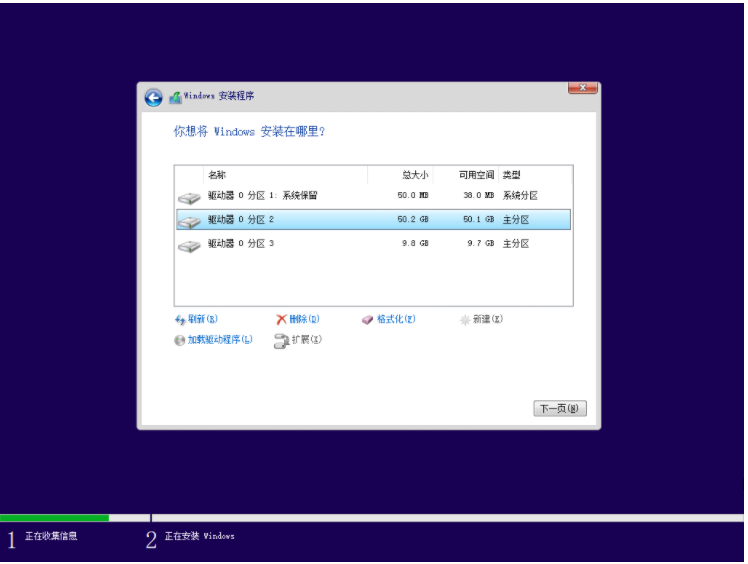
2、接着来到分区界面,选择我们要安装的地方。
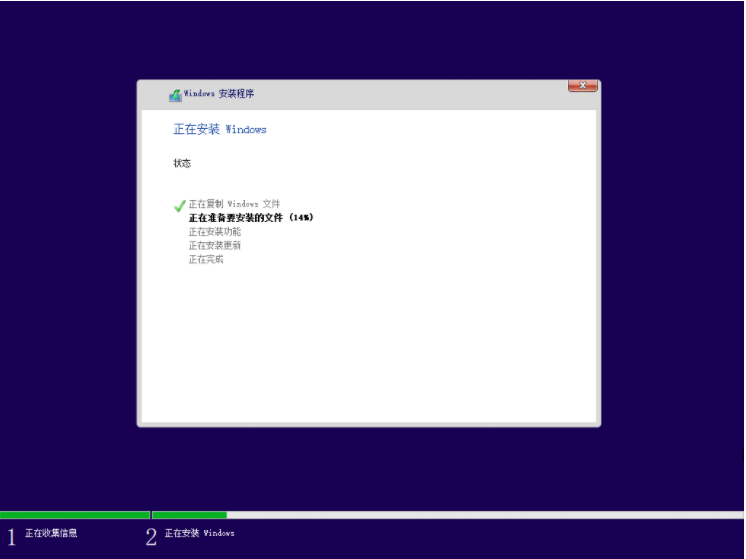
3、完成以上操作后系统开始安装工作,耐心等待,注意中途不要关闭电脑。
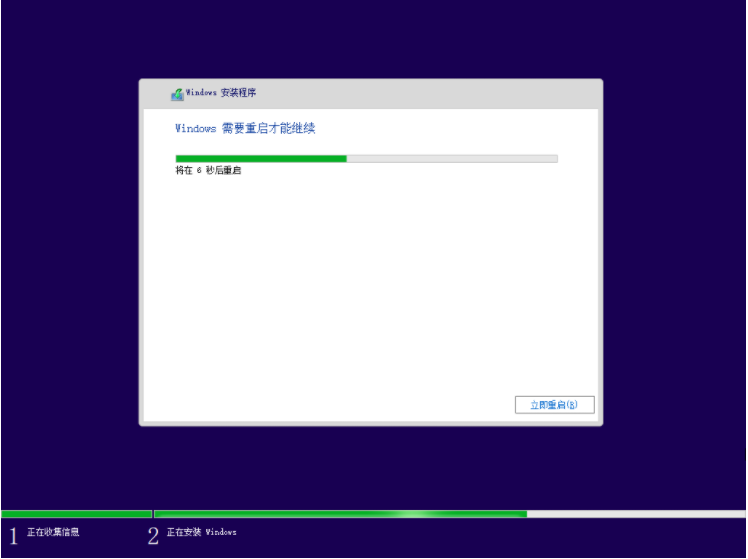
4、当镜像安装完成后我们点击立即重启即可。
5、接下来自行完成一系列的基础设置即可。
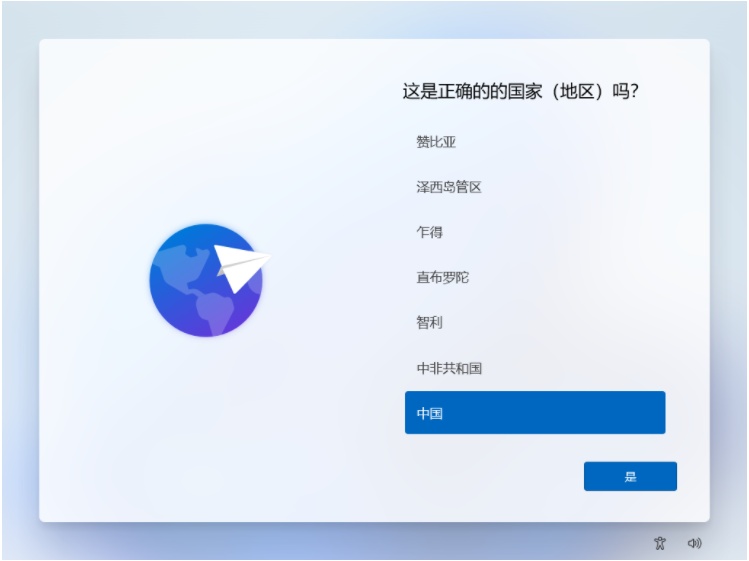
6、操作完上述的基本设置后电脑会再次重启,等待一小段时间就行了。

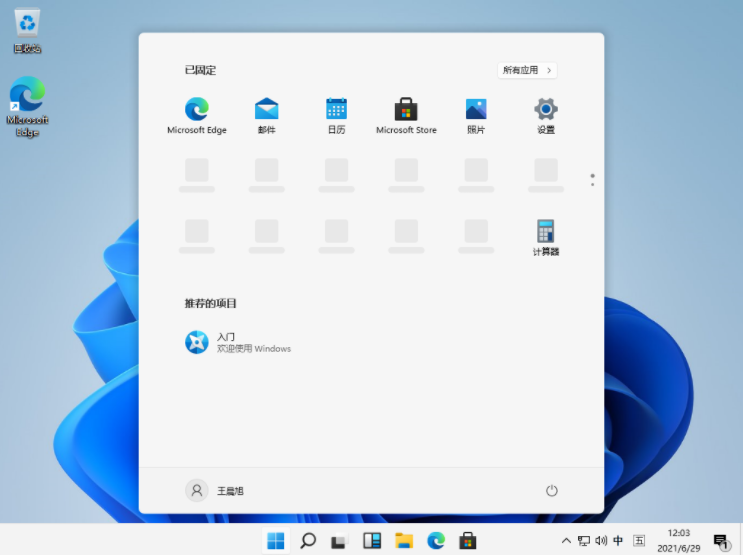
7、系统安装完成后来到windows11桌面,可以开始使用了。
以上就是如何安装微软新系统windows11的全部内容啦,有需要安装的小伙伴就可观看上述方法进行操作,希望能帮助到各位。


