Warning: Use of undefined constant title - assumed 'title' (this will throw an Error in a future version of PHP) in /data/www.zhuangjiba.com/web/e/data/tmp/tempnews8.php on line 170
图文演示win11安装教程
装机吧
Warning: Use of undefined constant newstime - assumed 'newstime' (this will throw an Error in a future version of PHP) in /data/www.zhuangjiba.com/web/e/data/tmp/tempnews8.php on line 171
2021年07月09日 09:04:00

目前微软已经推出来第一版的win11预览版系统,网上也可以找到相关的win11系统镜像,有不少小伙伴想要体验下最新的win11系统,想了解如何安装win11系统。今天小编就给大家分享下win11安装教程。
首先,我们需要先在网上搜索下载好win11预览版系统镜像,然后具体的安装步骤如下:
1、解压后即可获得win11预览版系统文件。

2、可对其进行解压或是直接利用驱动器来打开。
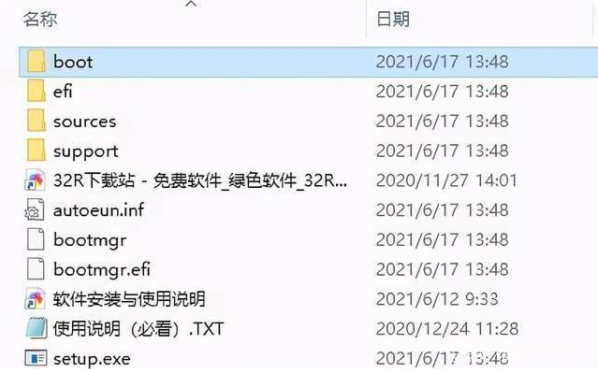
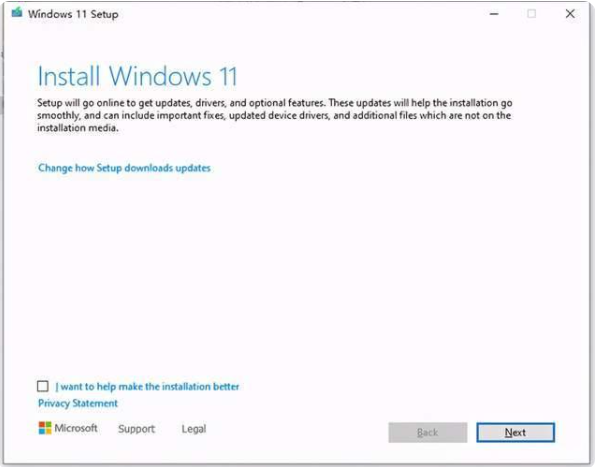
3、双击“setup.exe”进行加载。

4、依提示进行安装。
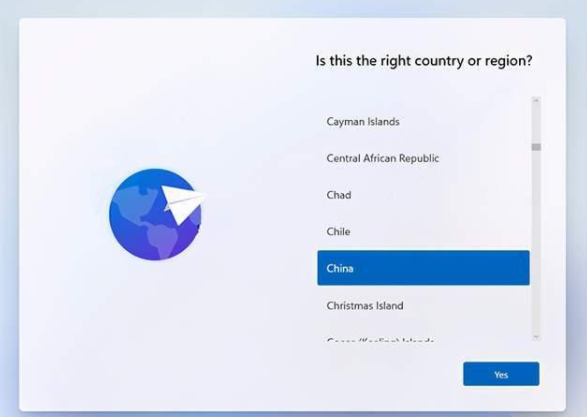
5、在这里选择国家地区。
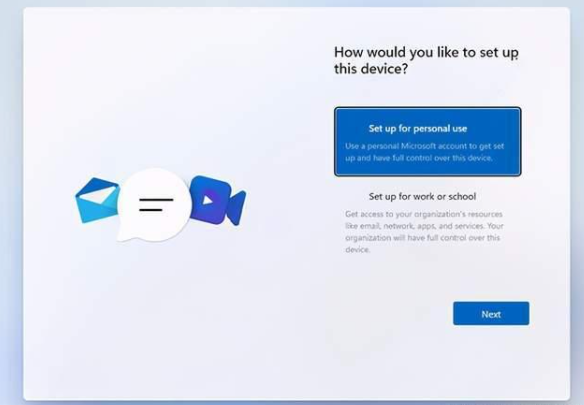
6、选择装个人的还是学校或是工作的模式版本。
7、接着等待安装完成。
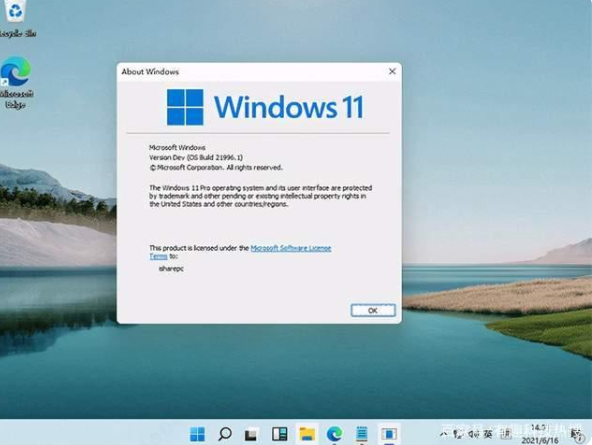
8、微软win11系统整体的UI风格更加圆润,一改过去Windows 10的棱角分明,大量使用肉眼可见的圆角。
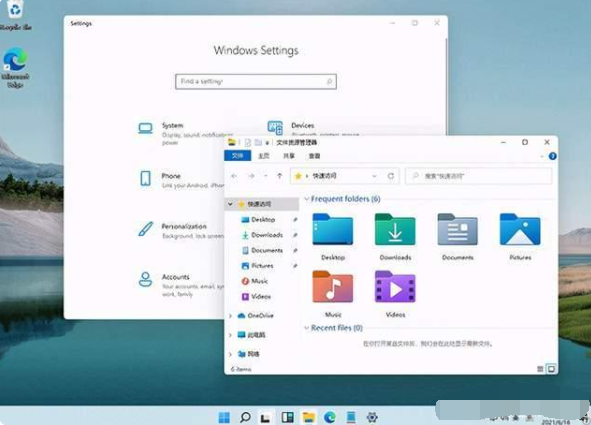
以上便是win11系统的安装过程,操作相对比较简单,感兴趣的小伙伴可以去下载安装体验哦。


