Warning: Use of undefined constant title - assumed 'title' (this will throw an Error in a future version of PHP) in /data/www.zhuangjiba.com/web/e/data/tmp/tempnews8.php on line 170
老司机教你u盘怎么格式化
装机吧
Warning: Use of undefined constant newstime - assumed 'newstime' (this will throw an Error in a future version of PHP) in /data/www.zhuangjiba.com/web/e/data/tmp/tempnews8.php on line 171
2019年01月25日 10:32:00
对于很多白领来说u盘是他们工作的好帮手,有时候u盘满了一点一点的删除很费时间,但是很多人不知道u盘怎么格式化,别着急,下面小编就来告诉你u盘怎么格式化。
u盘因为其体积小巧,易于携带,支持热插拔等特点,受到了广大用户的喜爱,但是有些朋友在使用u盘的不知道怎么将u盘格式化了,今天小编就来跟各位分享u盘格式化的方法。
u盘怎么格式化
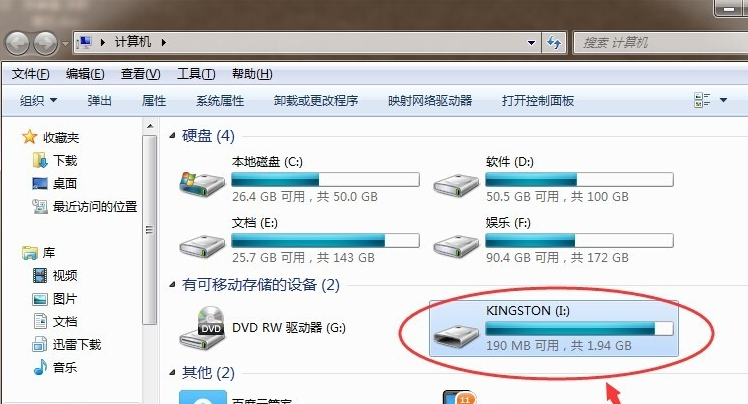
1.以win7系统为例,将u盘插入电脑,双击打开桌面上的计算机图标,在打开i的界面中我们可以看到这里的i盘就是我们的u盘。
u盘格式化图-1
2.鼠标右键i盘,选择格式化,进入下一步。

u盘图-2
2.在弹出的格式化界面中勾选“快速格式化”,然后点击“开始”按钮,进入下一步。

u盘格式化图-3
3.这时会弹出一个提示框,询问是否确定格式化u盘,点击确定即可。
4.然后就开始自动格式化u盘了,格式化完毕后会出现相应的提示框,点击确定即可。
以上就是u盘格式化的操作方法了,非常的简单!
喜欢22


