Warning: Use of undefined constant title - assumed 'title' (this will throw an Error in a future version of PHP) in /data/www.zhuangjiba.com/web/e/data/tmp/tempnews8.php on line 170
win7共享文件怎么设置
装机吧
Warning: Use of undefined constant newstime - assumed 'newstime' (this will throw an Error in a future version of PHP) in /data/www.zhuangjiba.com/web/e/data/tmp/tempnews8.php on line 171
2021年10月17日 09:06:00
虽然微软已经停止了对win7系统的更新及技术支持,但是依旧有很多企业用户在使用着win7系统,在我们日常工作中有时需要传输文件给同事修改就需要开启win7共享的功能,不过很多小伙伴都不知道win7共享文件怎么设置,接下来小编就把win7共享文件的设置方法分享给大家,快来一起看看吧。
win7共享:
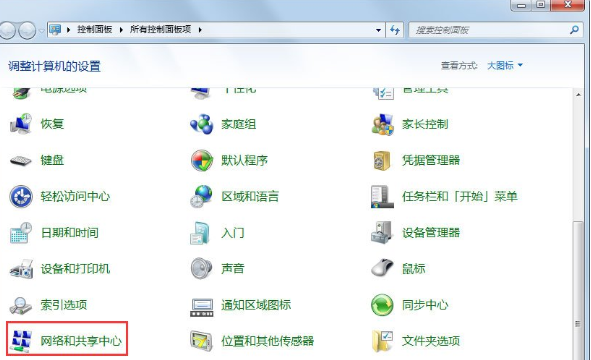
1.首先我们进入控制面板,打开网络和共享中心。
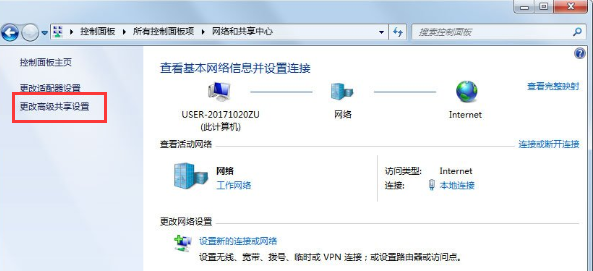
2.然后点击页面中的更改高级共享设置。
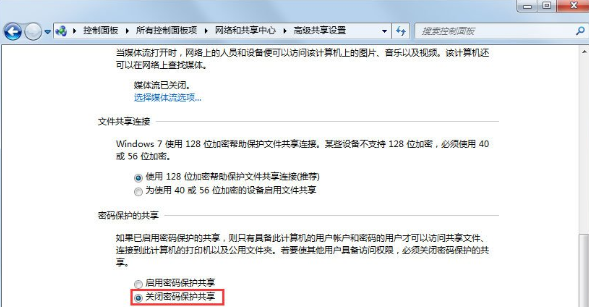
3.在页面中我们点击关闭密码保护共享,设置完成后点击“保存”。
4.然后我们右击打开需要共享的文件,点击“属性”,在页面中点击“共享”功能。
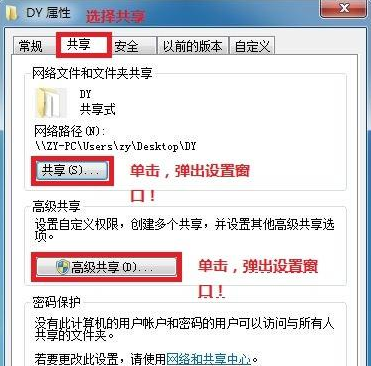
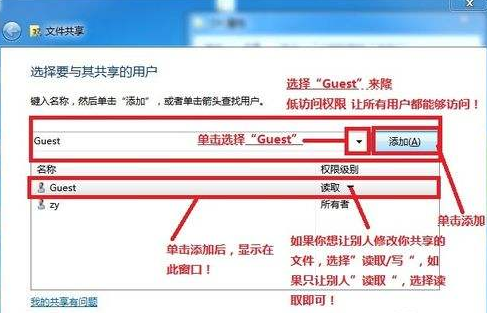
5.然后再高级共享页面中,添加需要共享的用户,设置读取和写入的权限,之后点击共享即可。
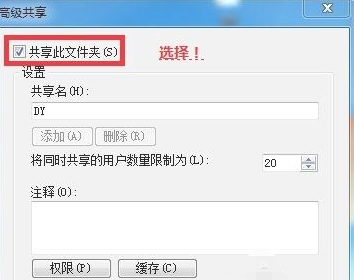
6.在高级共享页面中,点击共享此文件,选择“确定”。
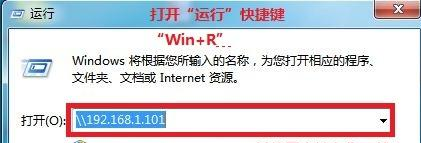
7.然后在共享的另一台电脑中,按win+r键打开运行窗口,输入命令\\IP(我们的ip地址)。
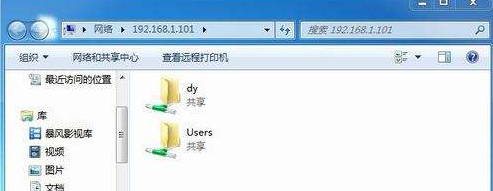
8.最后在文件夹中就能看见共享的文件啦。
以上就是win7共享的内容,希望能帮助到大家。
喜欢22


