Warning: Use of undefined constant title - assumed 'title' (this will throw an Error in a future version of PHP) in /data/www.zhuangjiba.com/web/e/data/tmp/tempnews8.php on line 170
给大家分享win11系统安装教程
装机吧
Warning: Use of undefined constant newstime - assumed 'newstime' (this will throw an Error in a future version of PHP) in /data/www.zhuangjiba.com/web/e/data/tmp/tempnews8.php on line 171
2021年07月26日 14:58:00
windows11系统终于有消息了,即使现在出的是预览版系统依然有许多小伙伴想要体验这款新的电脑操作系统,下面我们就来看看如何升级win11系统吧。
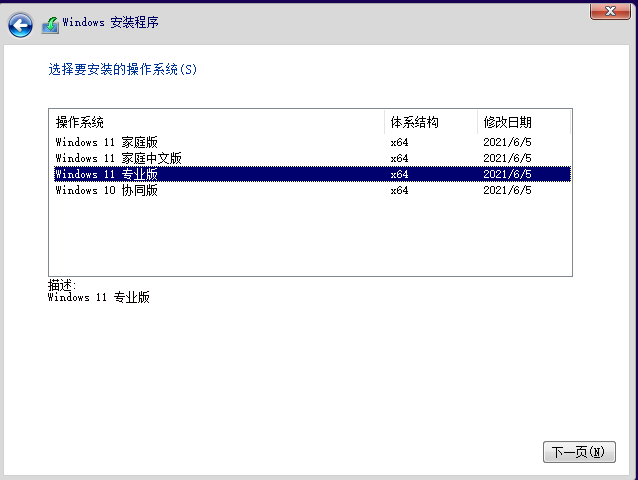
1、首先我们下载好win11镜像文件之后,解压运行,选择要安装的系统,镜像可在小白一键重装系统微信公众号回复windows11获取。
2、接着来到分区界面,选择我们要安装的地方。

3、完成以上操作后系统开始安装工作,耐心等待,注意中途不要关闭电脑。

4、当镜像安装完成后我们点击立即重启即可。

5、接下来自行完成一系列的基础设置即可。

6、操作完上述的基本设置后电脑会再次重启,等待一小段时间就行了。

7、系统安装完成后来到windows11桌面,可以开始使用了。

以上便是windows11安装教程了,大家如果在重装过程中有什么疑问的可以在微信公众号留言咨询,由于版本还在体验测试中,可能会有部分驱动程序出现不兼容的情况,需要大家自行调整。
喜欢22


