Warning: Use of undefined constant title - assumed 'title' (this will throw an Error in a future version of PHP) in /data/www.zhuangjiba.com/web/e/data/tmp/tempnews8.php on line 170
电脑u盘重装系统步骤图文
装机吧
Warning: Use of undefined constant newstime - assumed 'newstime' (this will throw an Error in a future version of PHP) in /data/www.zhuangjiba.com/web/e/data/tmp/tempnews8.php on line 171
2021年07月13日 13:06:02
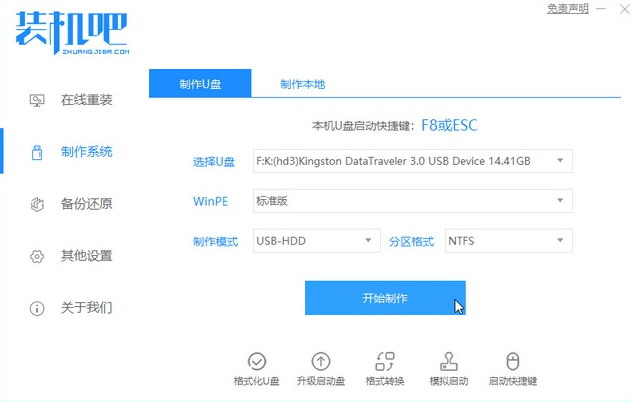
以前重装系统的方法都是用光盘来实现,现在因为很少电脑有光驱了所以都使用u盘来重装系统了,下面就和大家讲讲u盘装机的步骤吧。
1、浏览器搜索装机吧在线系统重装工具软件并打开,选择制作系统,点击开始制作。

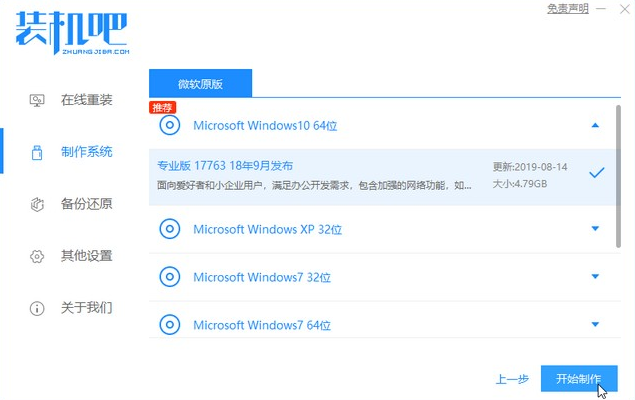
2、选择win10系统镜像,然后点击开始制作。
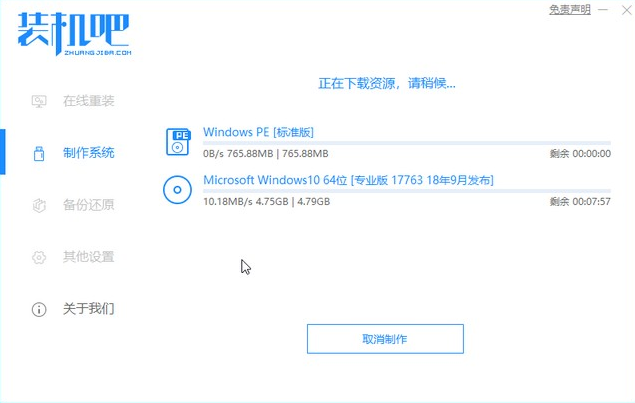
3、进入下载文件阶段,请耐心等候。
4、等待下载部署完成后,拔除启动盘退出。
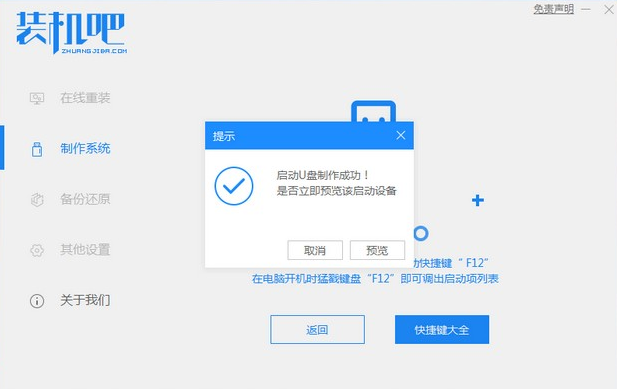
5、把制作好的启动U盘插到电脑上,开机快速按Esc 或Del 或F12等进入到Bios设置U盘启动。这里是按F12进入的快速引导菜单,选择U盘进入。
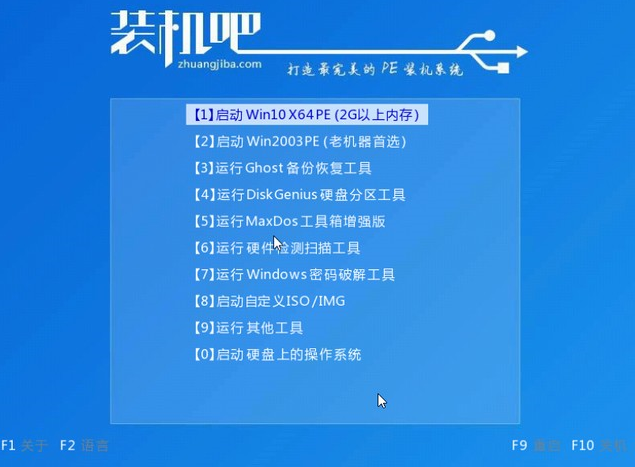
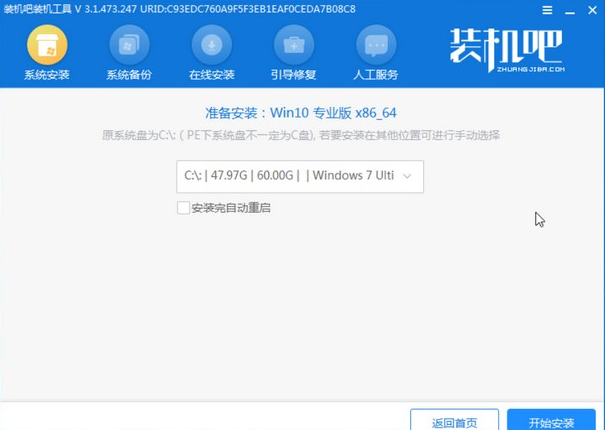
6、进入 PE 系统,选择win10系统安装在c盘,点击开始安装。
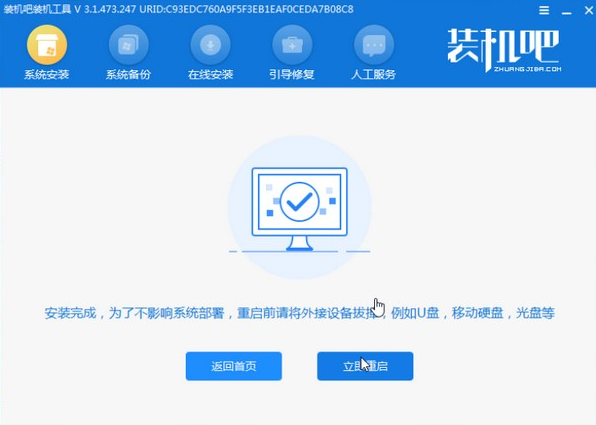
7、等待系统安装完成后,点击立即重启即可。
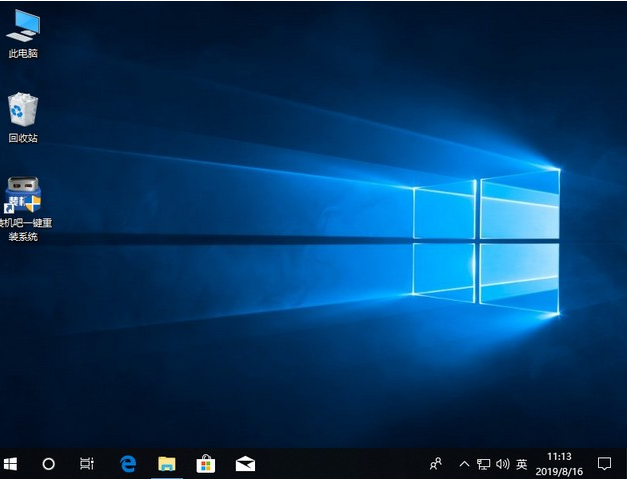
8、然后等待安装完成,进入以下界面就表示安装完成。
以上就是小编跟大家分享的电脑u盘重装系统步骤了,希望对大家有帮助。


