Warning: Use of undefined constant title - assumed 'title' (this will throw an Error in a future version of PHP) in /data/www.zhuangjiba.com/web/e/data/tmp/tempnews8.php on line 170
ultraiso制作u盘启动图文教程
装机吧
Warning: Use of undefined constant newstime - assumed 'newstime' (this will throw an Error in a future version of PHP) in /data/www.zhuangjiba.com/web/e/data/tmp/tempnews8.php on line 171
2020年11月27日 07:30:04
上期小编给大家分享了使用装机吧一键重装win10系统的方法,很多小伙伴留言,想要ultraiso制作u盘启动的教程,那么今天小编整理测试了这个工具的教程,下面让小编给您给您这个ultra制作u盘启动的图文教程吧。
ultraiso怎么制作u盘启动呢?
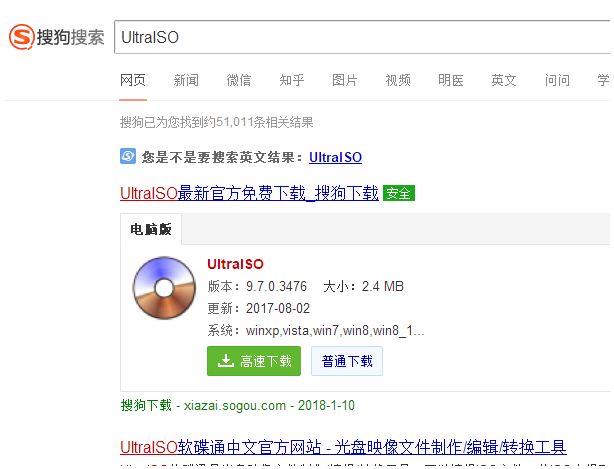
1、首先下载安装UltraISO软件,建议到官网下载正版。
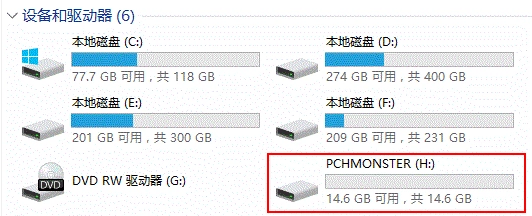
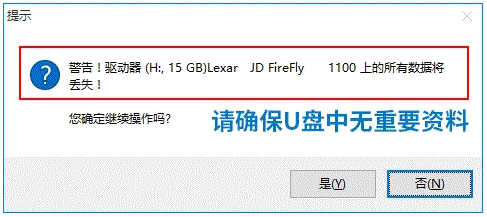
2、接着将U盘插到制作工具的电脑上面,记得将U盘资料备份好,制作工具会格式化U盘哦。
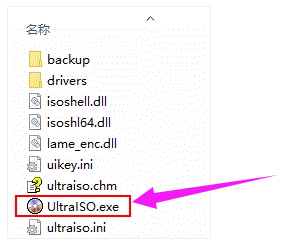
3、运行解压后的UltraISO目录中的打开UltraISO.exe程序。
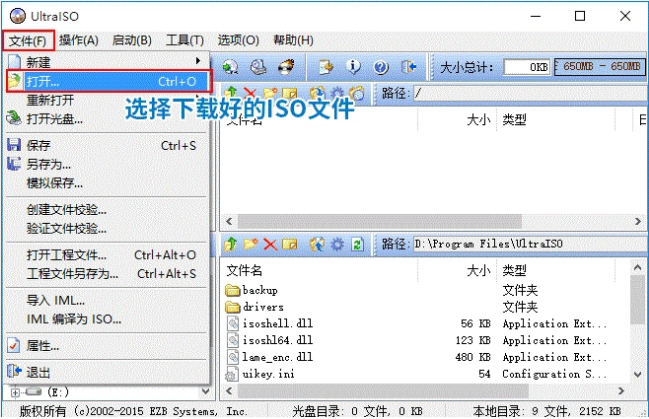
4、接着出现主菜单界面单击【文件】,选择【打开】,打开我们下载好的系统镜像文件,如果没有下载可以到系统之家(163987.com)下载哦。
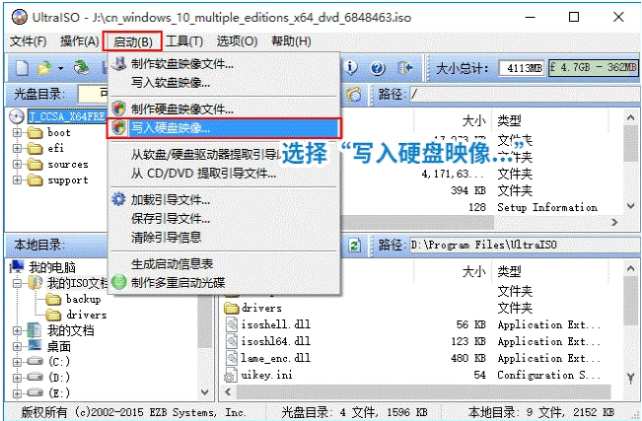
5、然后顶部菜单选择【启动】,单击【写入硬盘映像】。
6、接着出现写入硬盘映像窗口,一般情况下硬盘驱动器自动默认选择到您的U盘,请检测下是不是您的U盘。
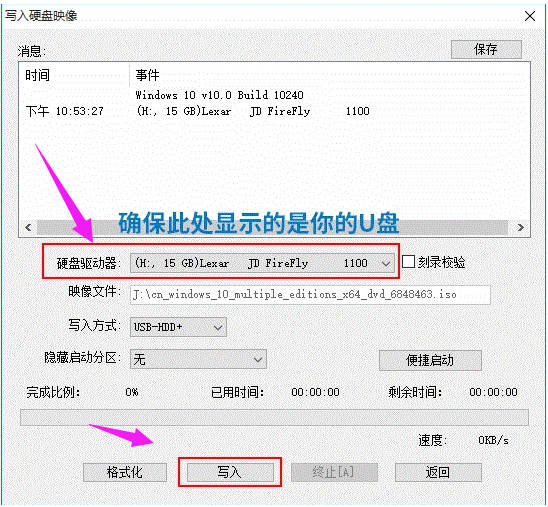
7、确认无误后单击【写入】按钮,然后选择【是】。
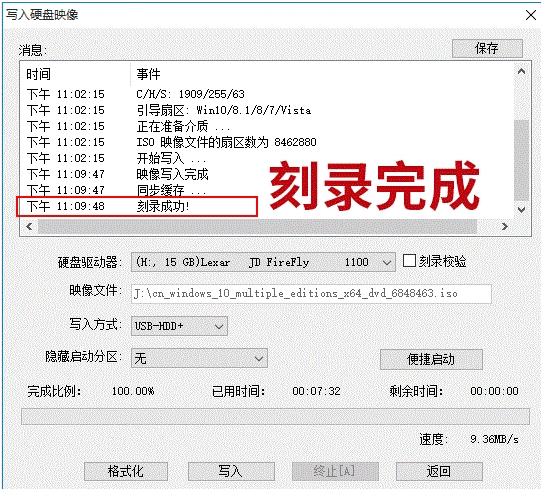
8、接着看到软件开始将镜像写入到你的U盘上面。
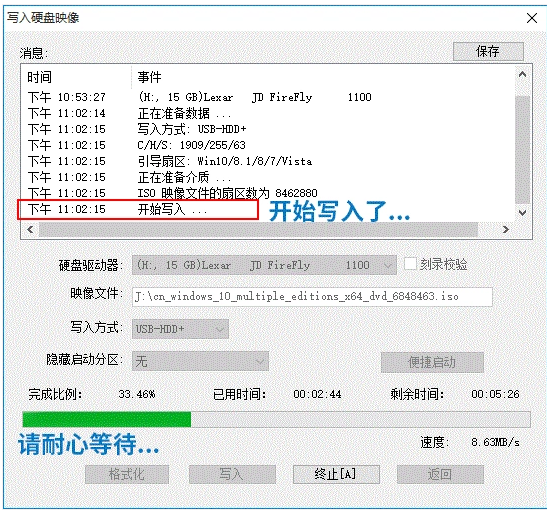
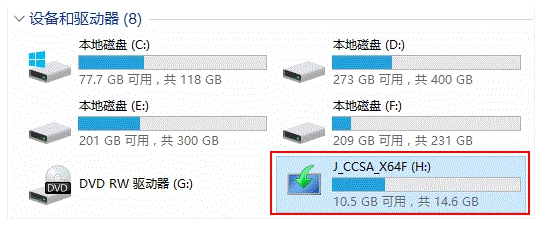
9、一般情况下15分钟就可以完成整个刻录过程,会提示您刻录成功,就可以去给电脑安装系统了。
以上关于ultraiso制作u盘启动图文教程。
喜欢22


