Warning: Use of undefined constant title - assumed 'title' (this will throw an Error in a future version of PHP) in /data/www.zhuangjiba.com/web/e/data/tmp/tempnews8.php on line 170
u盘被分区之后怎么合并图文教程
装机吧
Warning: Use of undefined constant newstime - assumed 'newstime' (this will throw an Error in a future version of PHP) in /data/www.zhuangjiba.com/web/e/data/tmp/tempnews8.php on line 171
2020年08月30日 17:18:15
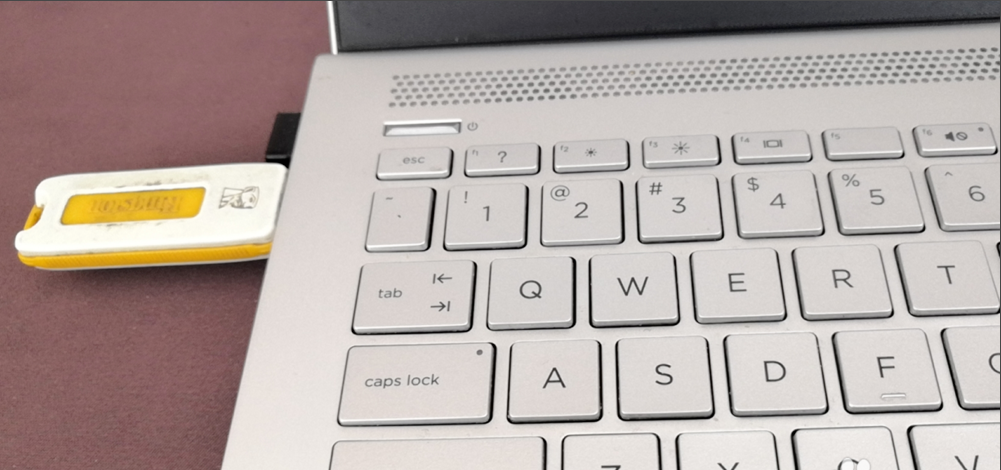
现在的U盘容量很大,有些容量比固态硬盘还大。有些人就会给U盘分区来存放不同的文件,但是U盘被分区之后怎么合并呢?这就难倒很多人了,不用担心,下面小编教你U盘分区合并的方法。
u盘被分区之后怎么合并图文教程
1、首先将分了区的U盘插上一台可以正常使用的电脑。

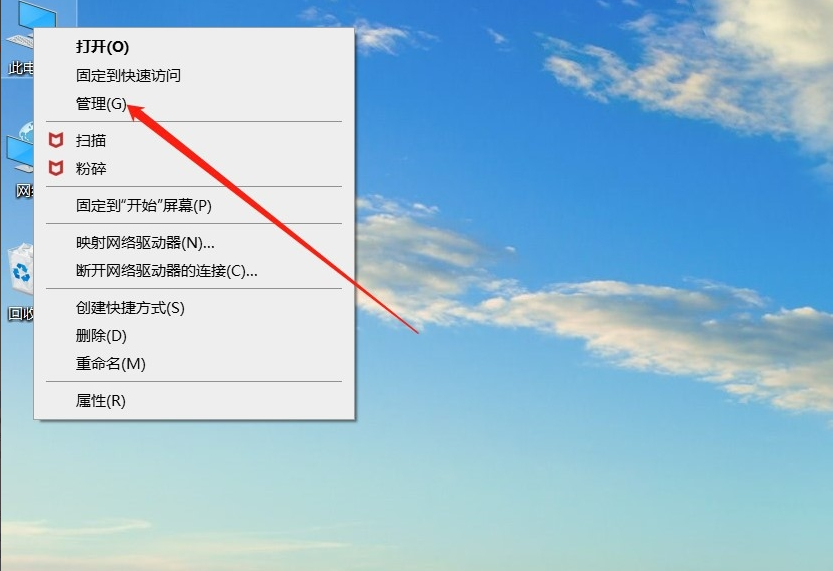
2、右键点击电脑桌面的“此电脑”,然后点击“管理”。
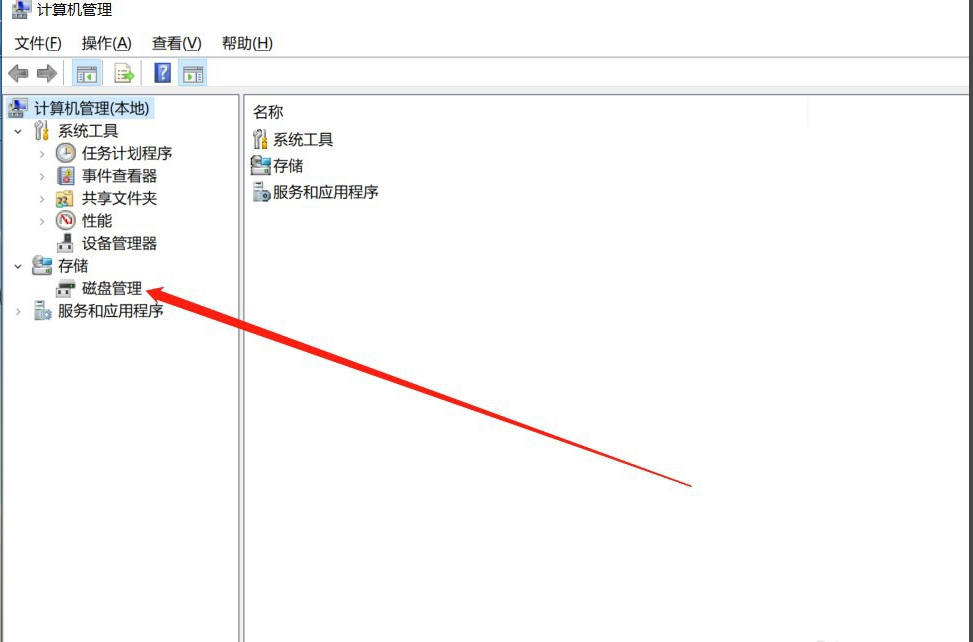
3、进入计算机管理窗口之后,点击左侧的磁盘管理。
4、选中U盘之后,在下面可以看到U盘的所有分区,将U盘的所有分区都右键点击,选择“删除卷”。
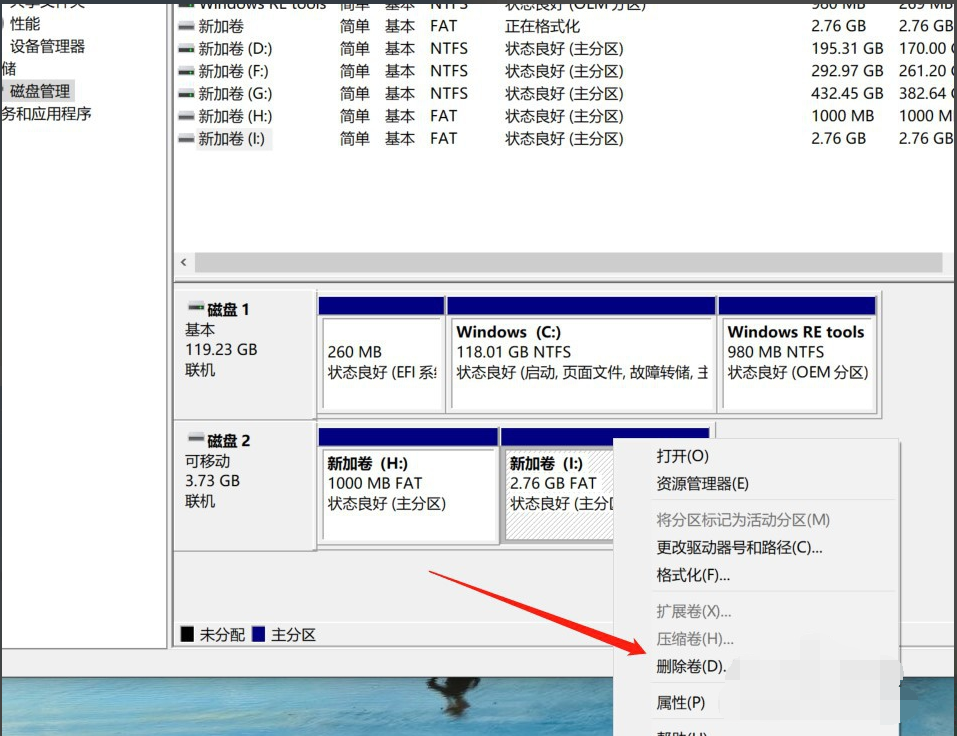
5、全部分区删除之后,再次右键没有分区的U盘,点击“新建简单卷”。
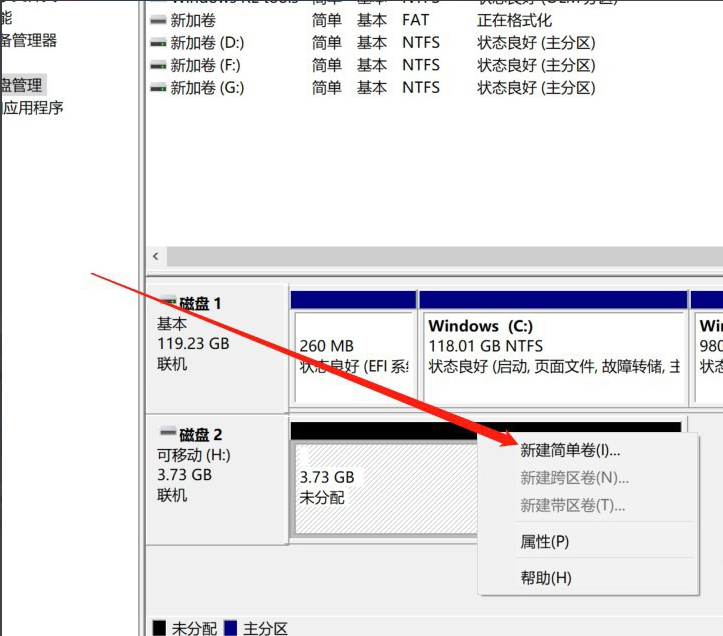
6、将U盘设置成一个分区就行了。
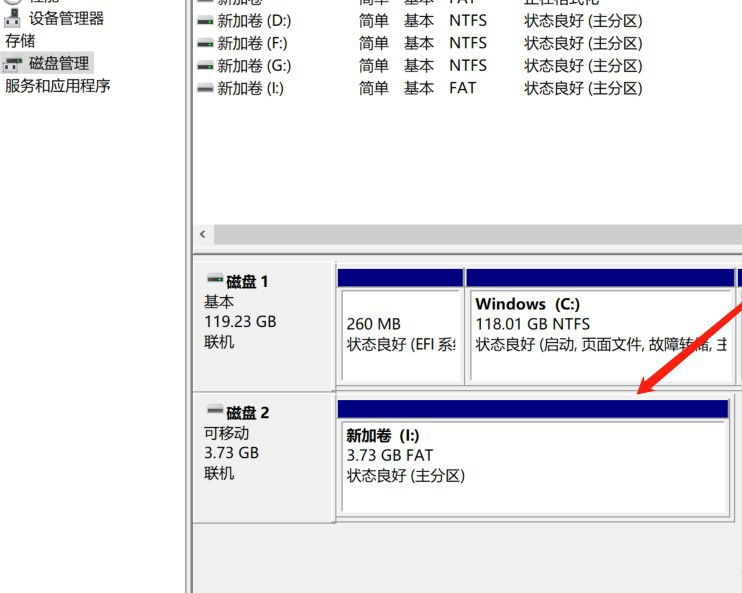
以上就是U盘分区合并的操作教程,是不是很简单呢?


