Warning: Use of undefined constant title - assumed 'title' (this will throw an Error in a future version of PHP) in /data/www.zhuangjiba.com/web/e/data/tmp/tempnews8.php on line 170
windows10虚拟机怎么设置
装机吧
Warning: Use of undefined constant newstime - assumed 'newstime' (this will throw an Error in a future version of PHP) in /data/www.zhuangjiba.com/web/e/data/tmp/tempnews8.php on line 171
2021年10月03日 12:05:00
对于很多刚接触电脑的小伙伴们,很多电脑的功能都不知道,甚至接触电脑有一段时间的小伙伴也一样不知道,例如windows10虚拟机很多小伙伴就不知道了,下面小编教大家windows10虚拟机怎么设置。
开启虚拟机条件:系统需为专业版或以上版本、必须使用64位CPU、必须开启CPU虚拟化
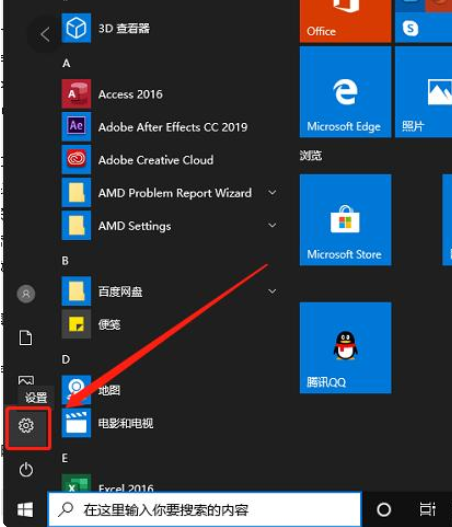
1.在桌面点击【开始菜单】,点击【设置】,如图所示:
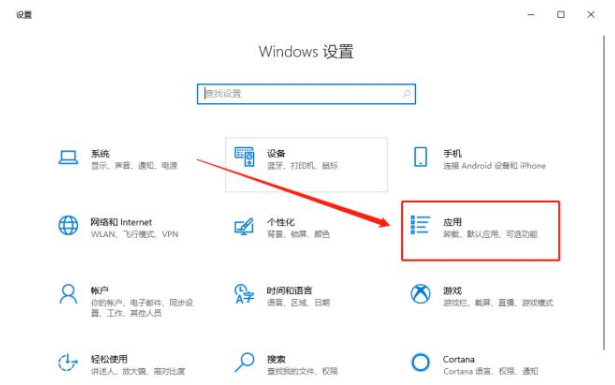
2.在Windows设置界面中,点击【应用】,如图所示:
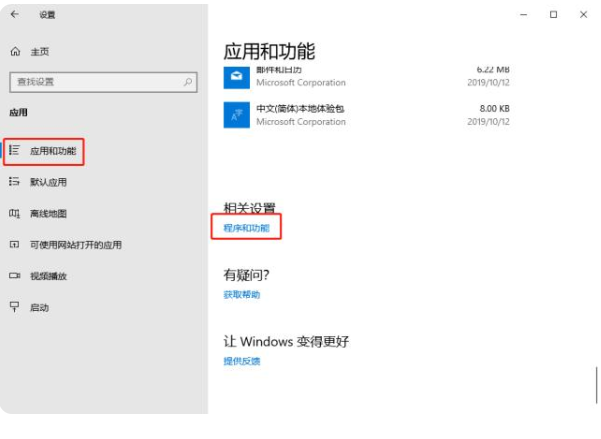
3.在窗口左侧点击【应用和功能】,然后在下拉窗口右侧的菜单,找到【程序和功能】并点击打开,如图所示:
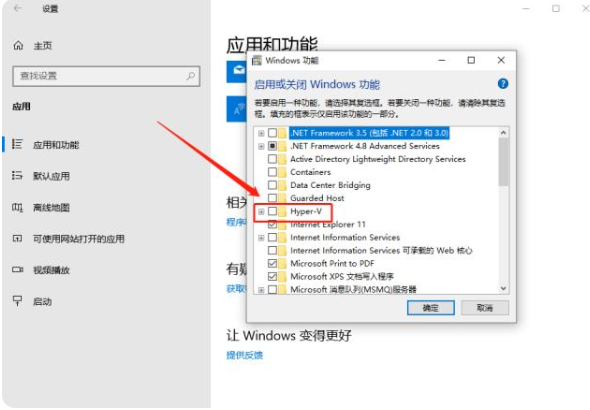
4.在弹出的窗口中勾选【Hyper-V】,win10就会自动安装程序组件,如图所示:
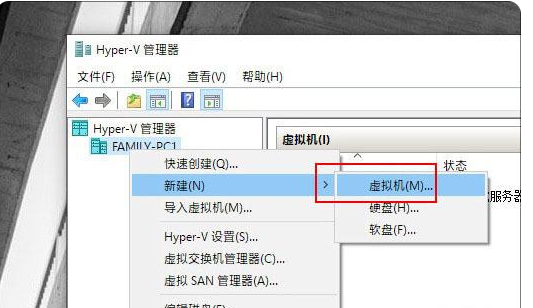
5.重启计算机,虚拟机就安装好了,接下来我们打开Hyper-V管理器,在搜索框输入即可调出。右键点击,选择【新建-虚拟机】,如图所示:
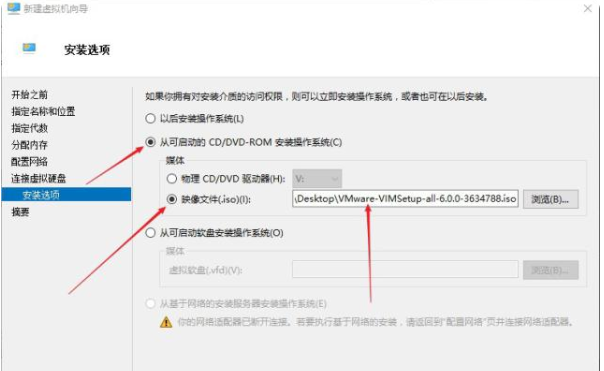
6.设置虚拟机,如:注意修改默认路径,以免占用C盘空间;修改内存,根据自己电脑的实际情况来调整;勾选【可启动的CD/DVD-ROM安装操作系统】,点击【映像文件】并上传镜像等操作,如图所示:
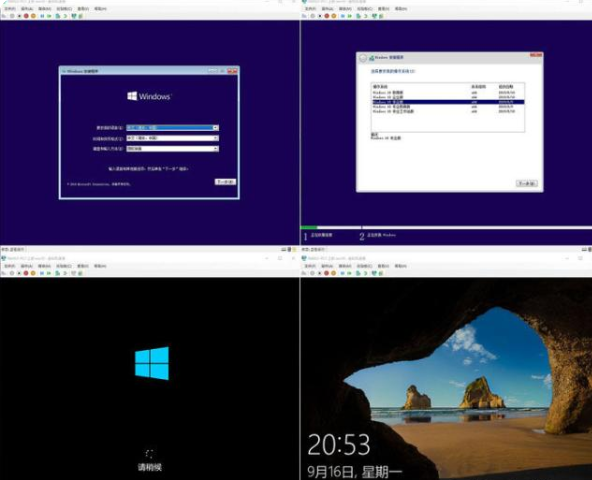
7.配置好虚拟机后,右键点击【启动】选择开机,在安装过程中不会弹出任何窗口,如果你想看到安装过程,需双击底部预览图选择【连接】即可。稍等片刻即可完成虚拟机安装的全部过程,如图所示:
以上就是windows10虚拟机怎么设置,希望能帮助到大家。
喜欢22


