Warning: Use of undefined constant title - assumed 'title' (this will throw an Error in a future version of PHP) in /data/www.zhuangjiba.com/web/e/data/tmp/tempnews8.php on line 170
深度系统win10安装教程步骤
装机吧
Warning: Use of undefined constant newstime - assumed 'newstime' (this will throw an Error in a future version of PHP) in /data/www.zhuangjiba.com/web/e/data/tmp/tempnews8.php on line 171
2021年08月30日 09:10:00
深度系统就是我们平时常见的深度技术ghost系统,深度系统都会集成大量的硬件驱动程序,安装过程中自动安装对应的驱动,而且安装后会自动执行激活,非常适合小白用户安装使用,下面给大家专门带来了深度系统win10的安装教程。
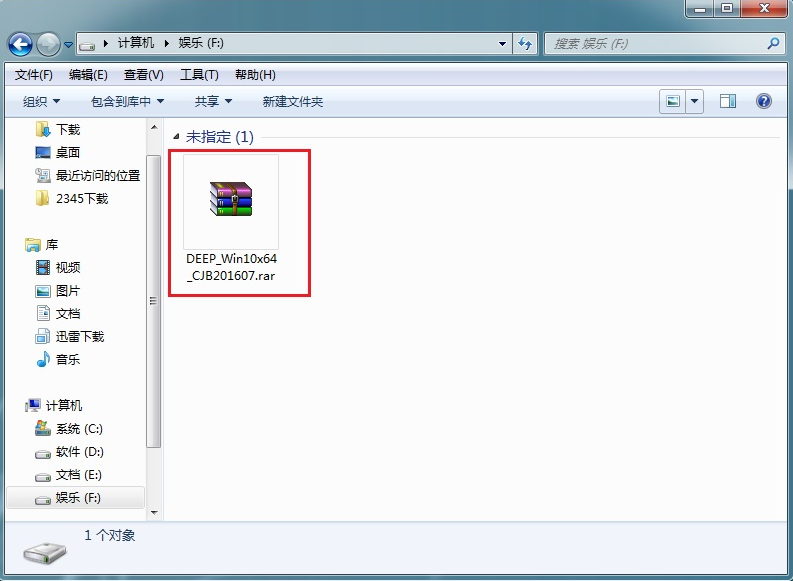
1、首先我们先下载好深度系统win1032位到本地硬盘上。
2、解压所下载的系统镜像文件。

3、双击"安装系统.exe",选择"C盘"(C盘为系统磁盘),接着点击执行。(执行安装前要把360等杀毒软件关闭,否则无法正常安装。)

4、选择"执行"后电脑会自动重启,格式化C盘,还原数据。

5、数据还原之后,自动重启,进入驱动安装界面。

6、驱动程序安装完成之后,再次重启,进入全新的Win10系统界面。

7、进入Win10桌面,这样本地硬盘安装Win10系统的步骤就完成了。

以上就是和大家分享的深度系统win10一键重装的详细教程了,希望对大家有帮助。
喜欢22


