Warning: Use of undefined constant title - assumed 'title' (this will throw an Error in a future version of PHP) in /data/www.zhuangjiba.com/web/e/data/tmp/tempnews8.php on line 170
win10设置共享文件夹详细教程
装机吧
Warning: Use of undefined constant newstime - assumed 'newstime' (this will throw an Error in a future version of PHP) in /data/www.zhuangjiba.com/web/e/data/tmp/tempnews8.php on line 171
2021年03月19日 12:40:00
最近,有一些刚刚安装win10正式版系统的用户反映自己因为工作需求想要在局域网内设置文件夹共享,却又不知道win10怎么设置共享文件夹,那么win10怎么共享文件夹呢?下面我们来看看win10设置共享文件夹详细教程。
win10设置共享文件夹详细教程如下:
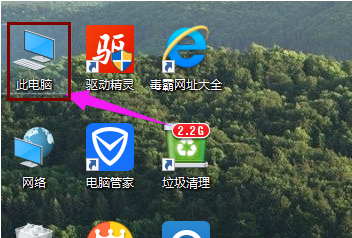
1、双击Win10系统桌面上的“此电脑”;
2、找到要共享的文件夹;

3、鼠标右键要共享的文件夹,将鼠标移动到“共享“上,点击“特定用户”。

4、弹出文件共享窗口,点击下面的向下箭头,可以打开下拉共享用列表。

5、选择要共享的用户,点击添加。

6、共享的用户就可以在底下的方框里看到;

7、点击底下方框的权限级别向下箭头,可以设置权限;

8、设置好后,点击共享。

9、系统共享文件夹中,等待几分钟;

10、系统提示共享文件夹设置成功,点击完成。

以上就是小编带带来的win10设置共享文件夹详细教程的全部内容,希望可以提供帮助。
喜欢22


