Warning: Use of undefined constant title - assumed 'title' (this will throw an Error in a future version of PHP) in /data/www.zhuangjiba.com/web/e/data/tmp/tempnews8.php on line 170
新硬盘安装win10教程
装机吧
Warning: Use of undefined constant newstime - assumed 'newstime' (this will throw an Error in a future version of PHP) in /data/www.zhuangjiba.com/web/e/data/tmp/tempnews8.php on line 171
2020年08月31日 08:35:00
家里出现新买的硬盘,想用硬盘安装win10,该怎么进行具体的步骤操作呢,怎么给新硬盘安装win10操作系统呢,一起来跟小编看看硬盘安装win10教程吧。
1、首先我们下载一个软媒魔方,并打开。
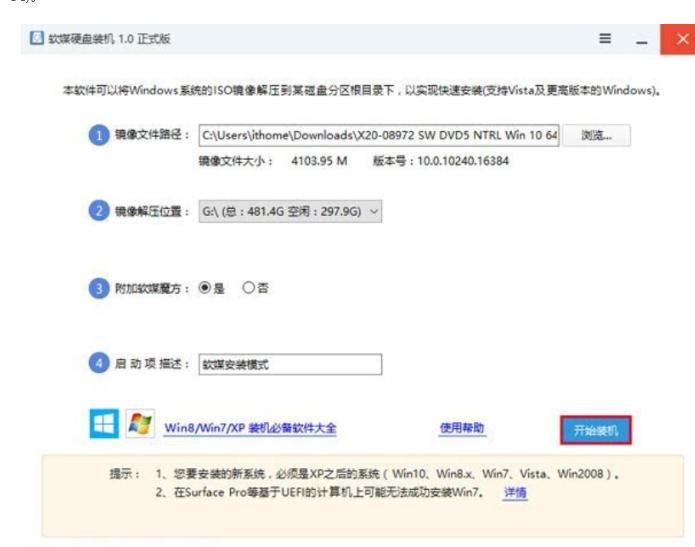
2、接着我们打开硬盘装机后,点击是选项。

3、接着在弹出来的页面中选择软媒安装模式,即可开始安装。

4、接着在弹出的页面中点击下一步按钮。

5、接着点击开始安装按钮。

6、根据系统提示,进入到安装页面后,我们进行自定义安装模式。

7、接着我们进行硬盘的分区,我们将系统放置主要分盘里。再点击下一步。

8、等待系统安装后,进入后续设置。

9、后续设置完成后就可以进入到桌面啦。

以上就是小编带来的如何硬盘安装win10解决方法,希望能给老铁们带来帮助。
喜欢22


