Warning: Use of undefined constant title - assumed 'title' (this will throw an Error in a future version of PHP) in /data/www.zhuangjiba.com/web/e/data/tmp/tempnews8.php on line 170
win7连接wifi的步骤教程
装机吧
Warning: Use of undefined constant newstime - assumed 'newstime' (this will throw an Error in a future version of PHP) in /data/www.zhuangjiba.com/web/e/data/tmp/tempnews8.php on line 171
2021年09月29日 09:06:00
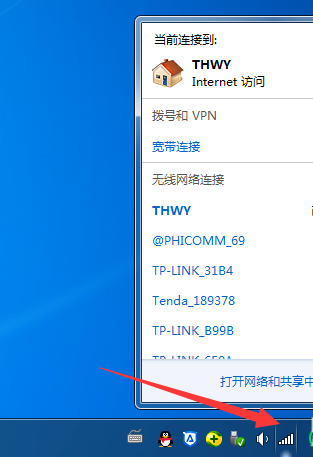
Windows7电脑连接WiFi不是很简单吗?点击WiFi图标不就直接连接了吗?估计很多小伙伴有这样的疑问,其实我们需要设置一下才能正常连接WiFi的。接下来,小编来跟大家说说win7连接wifi的步骤教程,大家一起来看看吧。
1、如果是笔记本电脑,点击右下角的WiFi图标选择需要连接的无线,输入密码就可以直接连接啦。

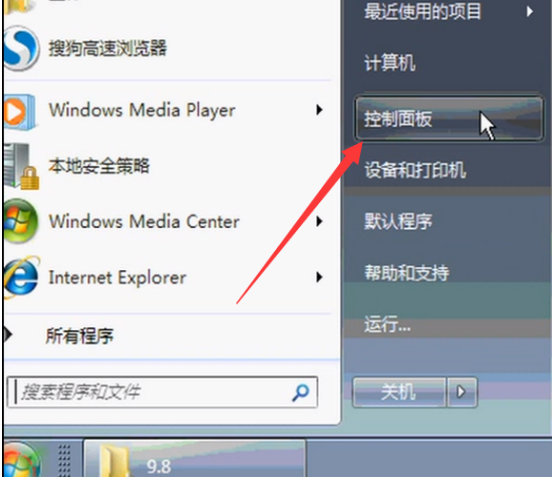
2、如果是台式机连接WiFi,需要安装无线网卡以及驱动,然后设置一下才能连接WiFi。我们来详细了解一下设置方法:打开控制面板。
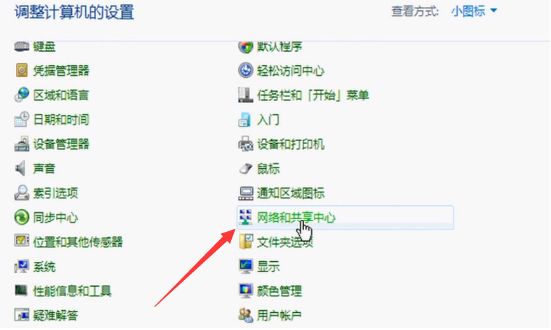
3、查看方式改为小图标,选择网络和共享中心。
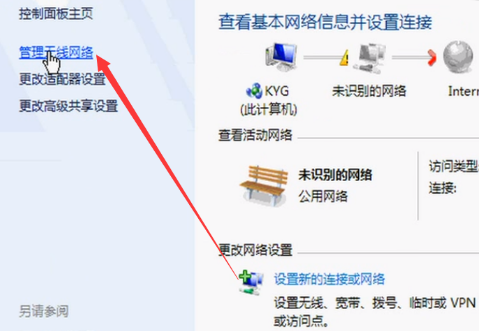
4、点击左侧的管理无线网络。
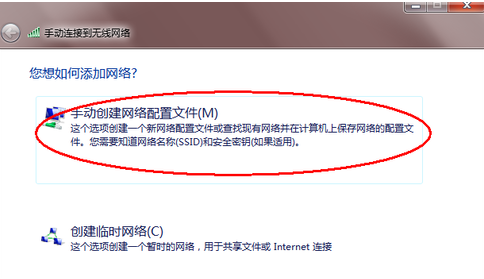
5、点击添加,弹出手动连接到无线网络窗口,选择第一个手动创建。
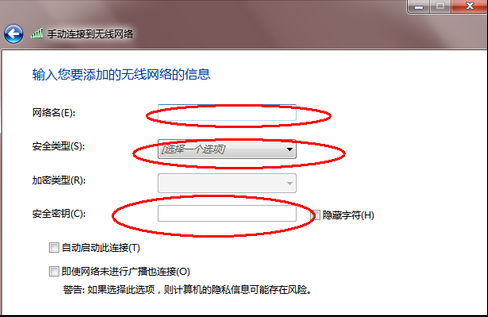
6、输入要添加的无线就OK啦。
以上就是win7连接wifi的步骤教程啦,希望能帮助到大家。


