
当我们在使用win7的时候,遇到了开机时蓝屏卡死并且出现0x0000001a蓝屏代码的情况时,小编觉得这种问题不是驱动除就是系统服务出错,那么遇到电脑蓝屏0x0000001a怎样解决呢?下面一起来跟小编看看吧。
电脑蓝屏代码0x0000001a的解决方法
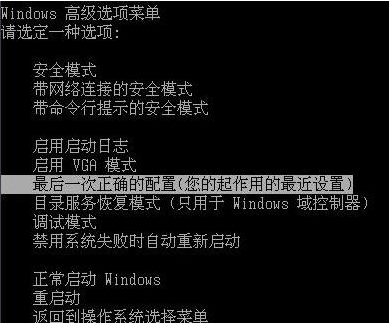
1.首先遇到这种情况,我们可以分析为系统短暂性休克蓝屏,按下主机强制重启键,开机时选择“最后一次正确的配置”即可正常进入系统。
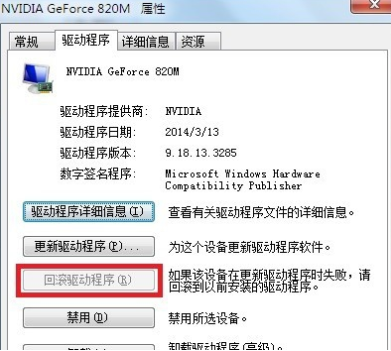
2.也可能是指定的磁盘或磁盘无法存取的原因,ntoskrnl.exe文件是N卡(显卡)的驱动程序文件。如果之前更新过了显卡的驱动程序,那就是它惹的祸。不妨先回滚驱动程序试试。
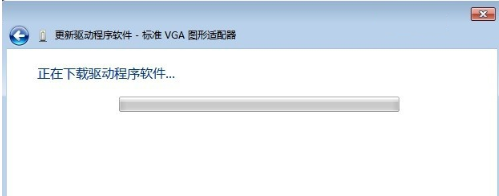
3.如果还是不可以,我们再找到匹配的显卡驱动程序更新一下即可(攻击附带的驱动光盘最匹配)。
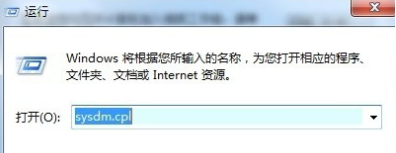
4.我们发现系统中已经留有蓝屏报告了。但前提是,已经设置要报告。我们按"win+r"打开运行窗口,输入命令”sysdm.cpl“ 点击确定。
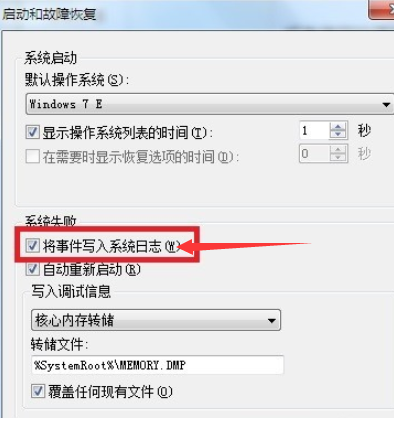
5.或者我们按:windows+pause break打开系统属性,进入页面后我们找到”高级“选项,找到”启动和故障恢复“,点击”设置“功能。

6.进入页面,我们一定要勾选“将事件写入系统日志”选项。
7.蓝屏之后,复制以下的路径:%SystemRoot%\MEMORY.DMP。
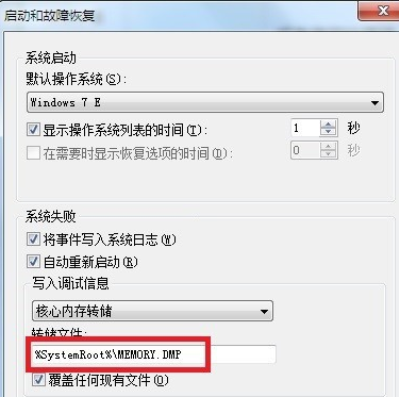
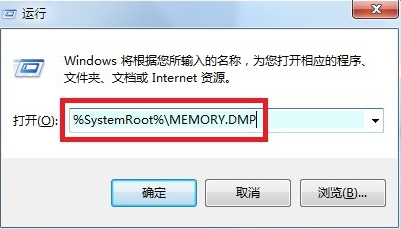
8.在运行窗口中复制粘贴路径:%SystemRoot%\MEMORY.DMP打开文件。
9.接着我们仔细查看蓝屏报告,关注有问题的系统文件。

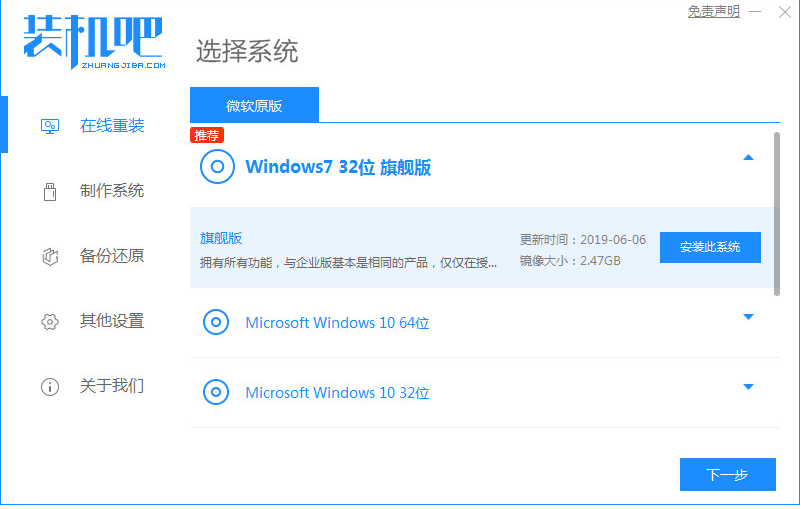
10.如果此方法不可行,我们可以尝试重装系统解决。
重装系统教程:
1、装机吧一键重装系统软件,电脑装机无压力,在这就可以下载安装win7的64位系统系统啦。
2、我们选择的是我们需要安装win7系统进行下载安装。

3、等待系统镜像下载完成。
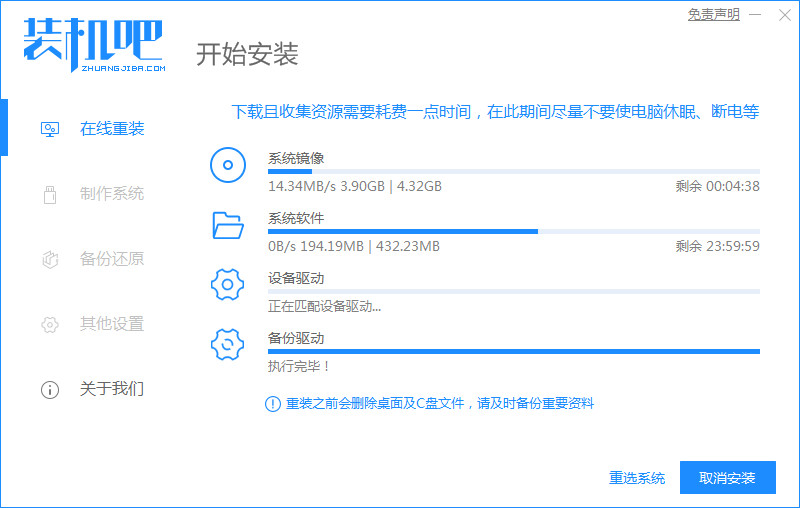
3、等待系统镜像下载完成。
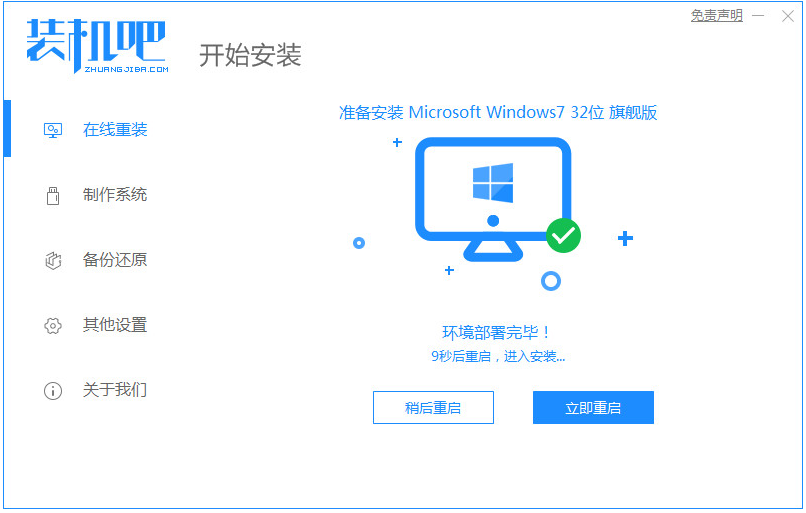
5、重启电脑后会出现windows启动管理器界面,我们选择第二个进入电脑的pe安装系统。

6、在电脑的pe界面中打开装机吧工具然后后继续进行系统的安装。

8、重启之后就是我们的win7系统啦,如下图。

以上就是电脑蓝屏问题的解决方法,想要了解更多关于重装系统的内容可以点击装机吧一键重装系统官网了解更多资讯,希望以上内容可以帮到大家。


