Warning: Use of undefined constant title - assumed 'title' (this will throw an Error in a future version of PHP) in /data/www.zhuangjiba.com/web/e/data/tmp/tempnews8.php on line 170
U盘启动盘制作工具使用的方法
装机吧
Warning: Use of undefined constant newstime - assumed 'newstime' (this will throw an Error in a future version of PHP) in /data/www.zhuangjiba.com/web/e/data/tmp/tempnews8.php on line 171
2022年01月04日 09:50:00
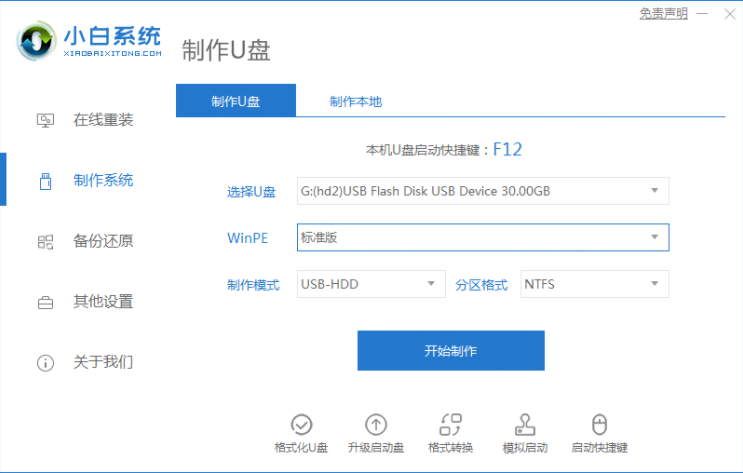
现在用U盘安装操作系统很常见,但是你不会怎么办?事实上,有一个U盘和U盘启动盘制作工具可以完成,那么下面我们来看看U盘启动盘制作工具使用的方法吧.
1.打开下载的小白,准备8GB以上的空白U盘,然后选择制作比试功能,开始制作启动U盘。

2.在选择系统列表中选择您想安装的操作系统。
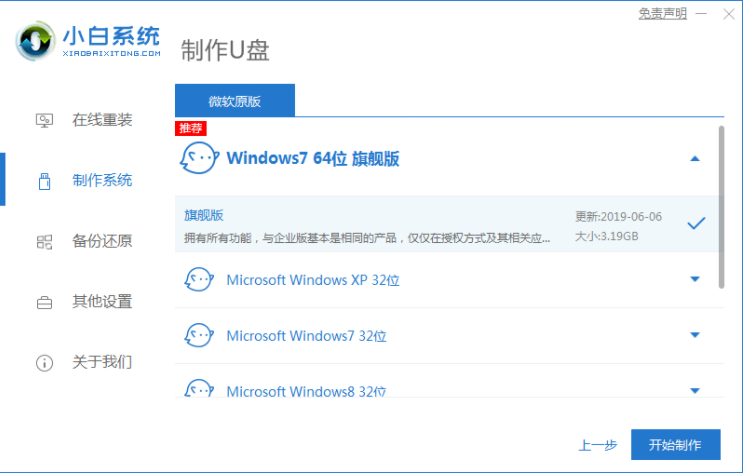
3.制作起动盘格式化U盘,所以不要在U盘中存储重要信息。
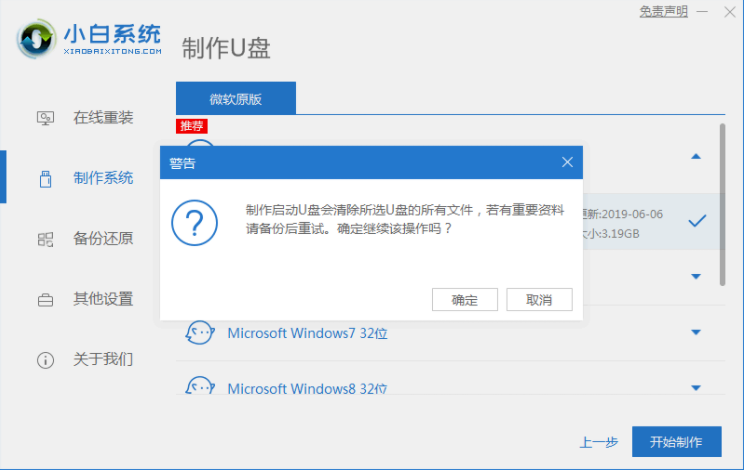
4.当下载完系统之后!U盘将自动启动并将下载系统和备份数据导入U盘。制作过程会有点长。请耐心等待。
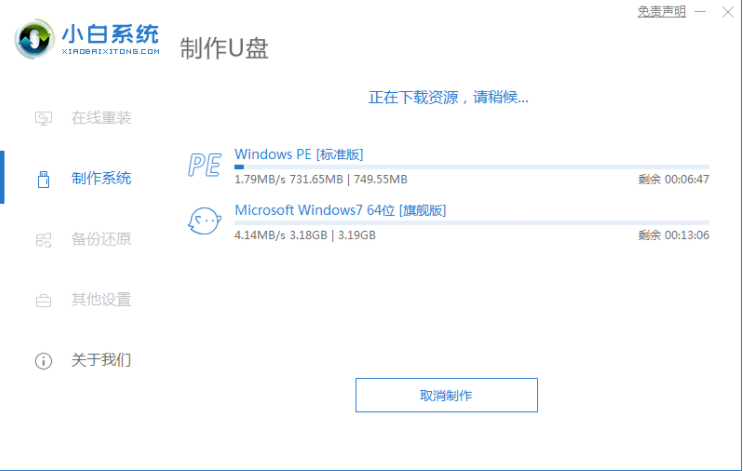
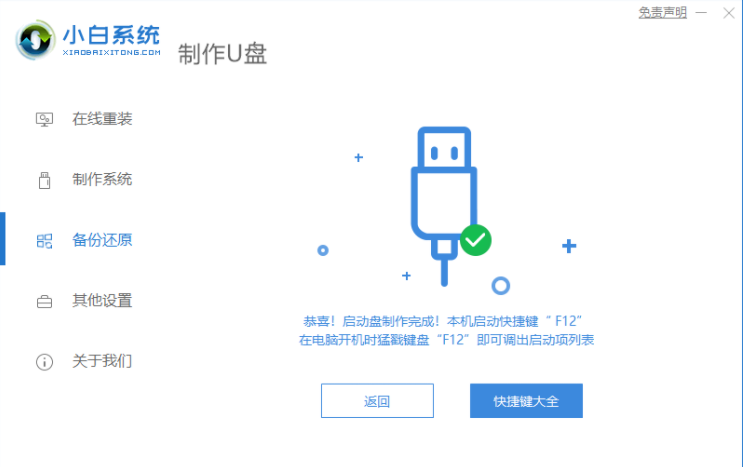
5.现在弹出提示U盘已经制作完毕(如果制作失败,请重新制作失败的U盘)。
以上就是U盘启动盘制作工具使用的方法,希望能帮助到大家。


