Warning: Use of undefined constant title - assumed 'title' (this will throw an Error in a future version of PHP) in /data/www.zhuangjiba.com/web/e/data/tmp/tempnews8.php on line 170
win11改win10系统教程图解
装机吧
Warning: Use of undefined constant newstime - assumed 'newstime' (this will throw an Error in a future version of PHP) in /data/www.zhuangjiba.com/web/e/data/tmp/tempnews8.php on line 171
2021年07月31日 10:40:00
近期有不少小伙伴都更新了Windows11系统,但是有不少小伙伴在使用的过程中有了非常多不好的体验,想要重装win10系统,那么下面小编就来跟大家说说win11改win10系统教程,让大家可以如愿以偿。
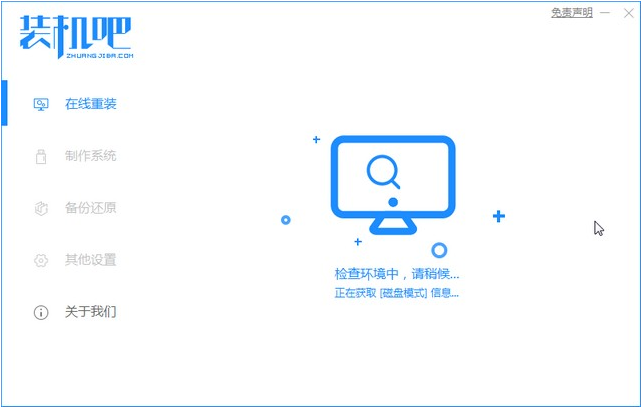
1、首先我们打开电脑浏览器搜索装机吧一键重装系统,将软件下载好并打开。

2、选择我们要重装的系统镜像。
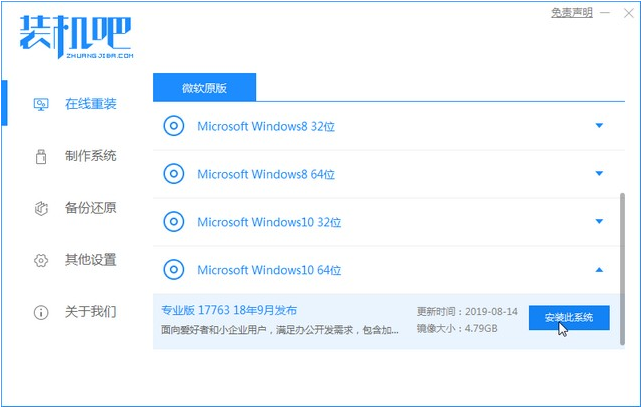
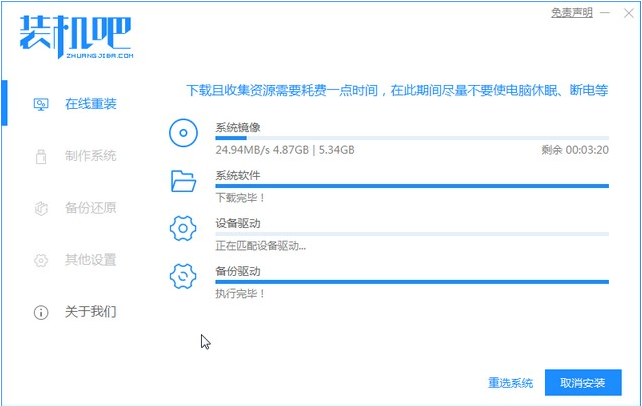
3、系统镜像文件有点大,我们要耐心等待下载。
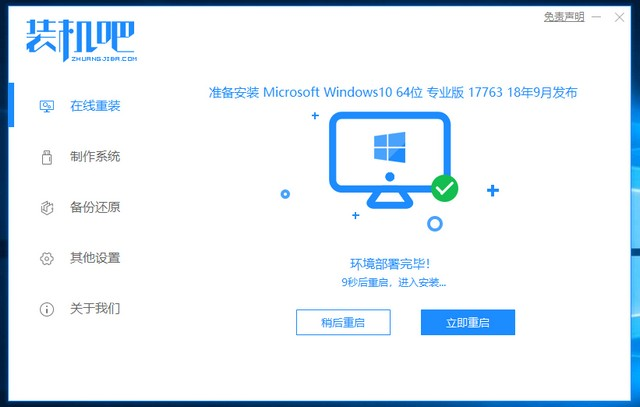
4、下载好进行环境部署,部署好我们重启电脑即可。
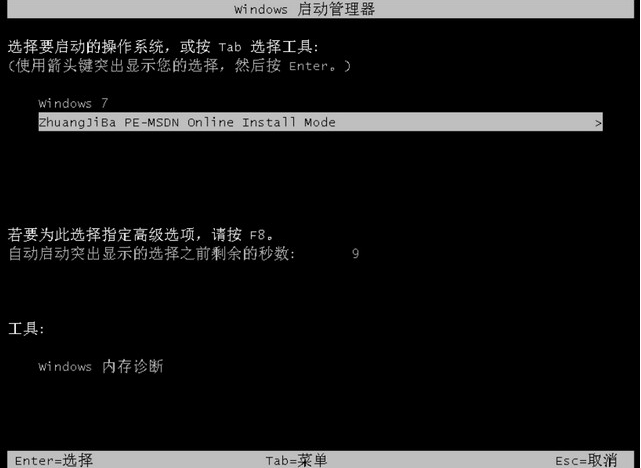
5、我们进入windows启动管理器界面,选择第二个进入电脑的pe系统。
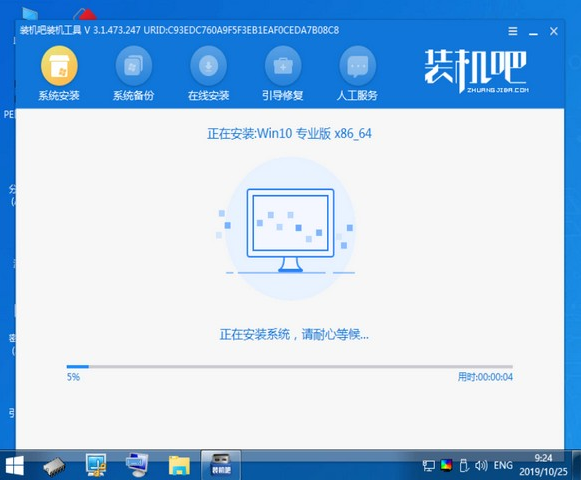
6、进入到到pe系统界面继续进行安装。
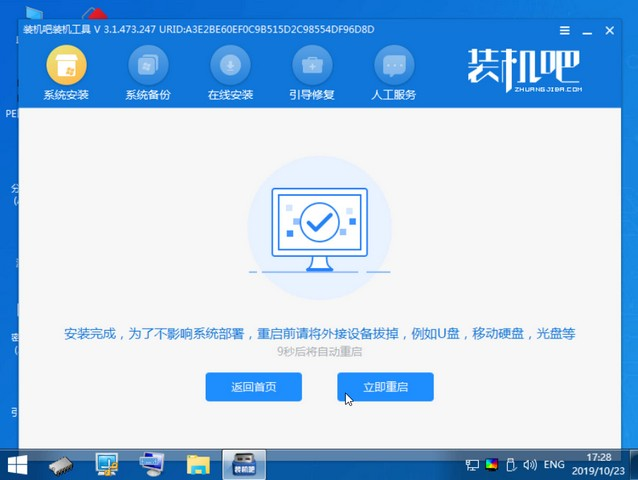
7、安装完成之后我们需要再次重启电脑。
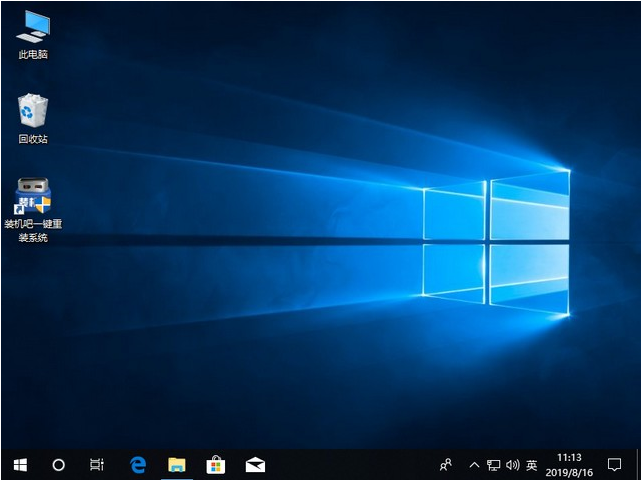
8、重启完电脑之后我们就进入到新系统啦。
以上就是win11改win10系统的步骤教程啦,希望能帮助到大家。


