Warning: Use of undefined constant title - assumed 'title' (this will throw an Error in a future version of PHP) in /data/www.zhuangjiba.com/web/e/data/tmp/tempnews8.php on line 170
微软鼠标蓝牙配对图文教程
装机吧
Warning: Use of undefined constant newstime - assumed 'newstime' (this will throw an Error in a future version of PHP) in /data/www.zhuangjiba.com/web/e/data/tmp/tempnews8.php on line 171
2021年07月24日 10:12:00
蓝牙鼠标真是越来越方便了,很多用户都喜欢使用,微软鼠标也推出了蓝牙鼠标,有小伙伴最近就买了,不知道怎么连接蓝牙,其实蓝牙鼠标连接电脑的方法都是类似的,下面小编就给大家讲讲微软鼠标蓝牙配对的教程。
微软鼠标蓝牙配对教程:
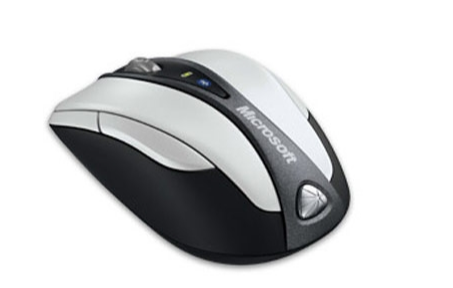
1、先将蓝牙鼠标反过来,开启电池盒盖,将电池安装上去。再将USB蓝牙模块插入电脑的USB端口。
2、使用Windows+E快捷键,调出资源管理器→打开控制面板。

3、再在控制面板的右上方搜索框输入:蓝牙→添加Bluetooth(蓝牙)设备。

4、系统正在搜索蓝牙鼠标设备……

5、搜索到之后,输入正确的配对代码(通常在说明书中)→下一步。智能的蓝牙设备会自动配对,甚至点击蓝牙鼠标的左右键就会被系统检测到。

6、成功添加→关闭。即可正常使用蓝牙鼠标了。

以上就是微软鼠标蓝牙配对的教程,希望个各位小伙伴都能够学会。
喜欢22


