Warning: Use of undefined constant title - assumed 'title' (this will throw an Error in a future version of PHP) in /data/www.zhuangjiba.com/web/e/data/tmp/tempnews8.php on line 170
u盘装机的详细教程
装机吧
Warning: Use of undefined constant newstime - assumed 'newstime' (this will throw an Error in a future version of PHP) in /data/www.zhuangjiba.com/web/e/data/tmp/tempnews8.php on line 171
2021年06月10日 09:36:00
电脑是我们生活中或者办公的时候经常使用到的工具,很多小伙伴在使用的过程中会遇到一些系统问题需要重装系统。这个时候我们就可以使用u盘装机来解决。很多小伙伴不知道u盘装机怎么操作,那么今天小编就来给大家演示一下u盘装机。下面就让我们一起来看看吧!
u盘装机的详细教程:
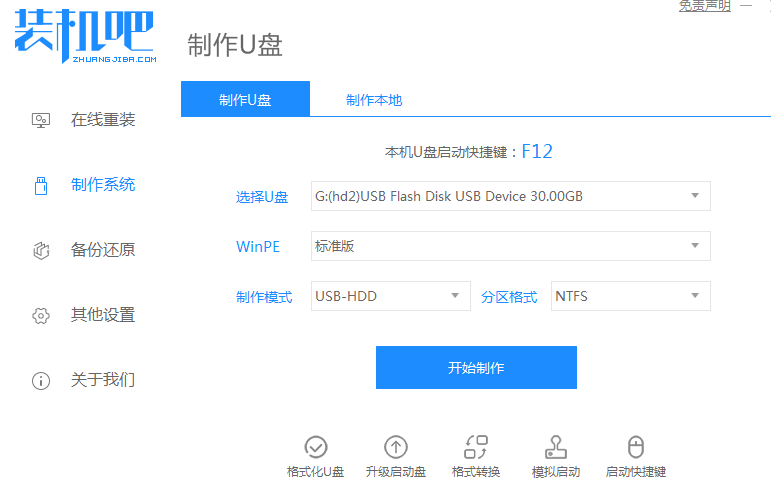
1、我们只需要使用u盘来帮助我们重装系统就可以了,准备一个8g以上的u盘。下载并打开咔咔装机软件,点击制作系统,选择我们想要的系统开始制作。

2、等待制作完成,查看热键,拔出u盘。
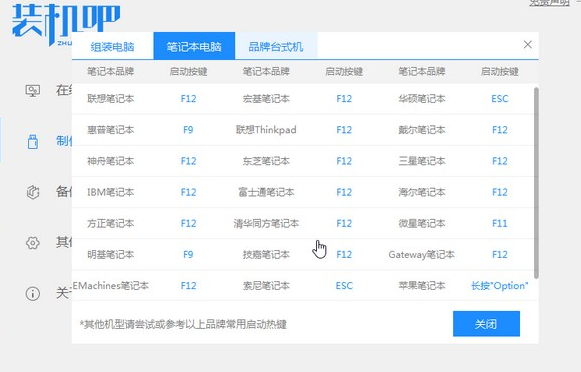
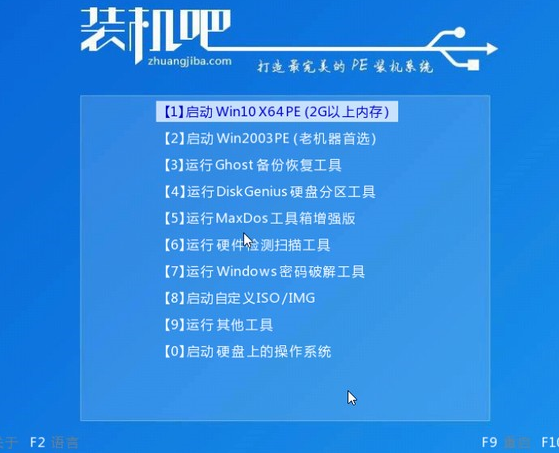
3、把u盘插入我们需要重装系统的电脑,开机不断按热键进入界面选择u盘启动,选择进入pe系统。
4、点击安装即可。
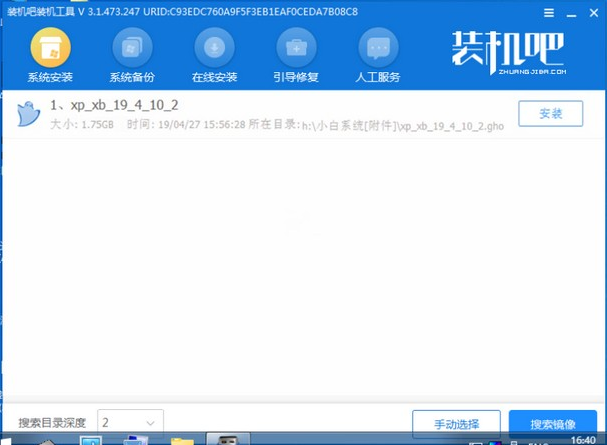
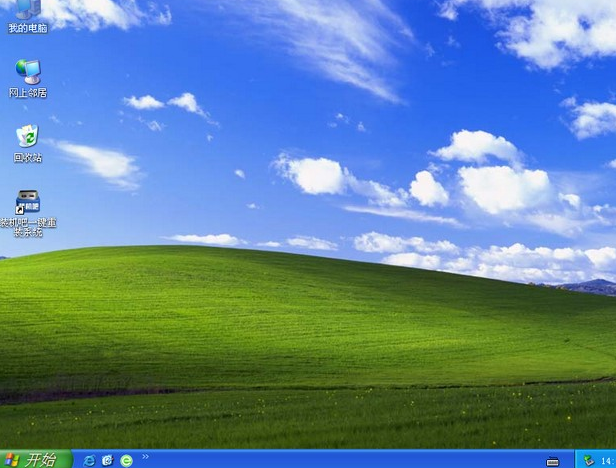
5、等待安装完成重启进入桌面,就说明我们的系统已经安装好啦!
以上就是关于u盘装机怎么操作的详细教程啦!希望能够帮助到大家!


