Warning: Use of undefined constant title - assumed 'title' (this will throw an Error in a future version of PHP) in /data/www.zhuangjiba.com/web/e/data/tmp/tempnews8.php on line 170
win1064u盘装机如何操作
装机吧
Warning: Use of undefined constant newstime - assumed 'newstime' (this will throw an Error in a future version of PHP) in /data/www.zhuangjiba.com/web/e/data/tmp/tempnews8.php on line 171
2021年04月15日 08:32:00
现在重装系统已经很简单了,我们可以直接通过装机软件来给电脑安装win10 64位系统,下面具体看看是如何操作的吧。
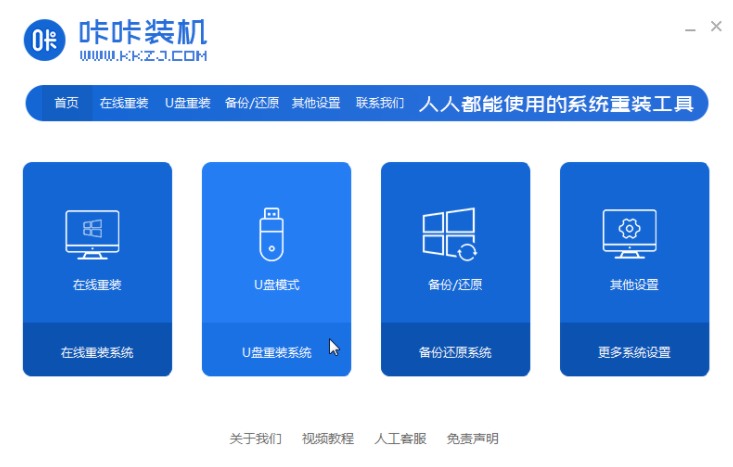
1、搜索“咔咔装机官网”并将软件下载在电脑,并将u盘插入电脑,然后选择U盘模式进入。
2、选择U盘模式,点击“开始制作”下一步。

3、再接着点击“开始制作”。

4、等待软件给出提示“启动u盘制作成功”后。

5、通过键盘上下键选择然后按下回车键进入pe安装系统。

6、点击安装之后进行系统安装。

7、将系统安装在C盘,点击“开始安装”。

8、安装完重启后就可以啦。

以上就是win10 64位系统u盘装机的具体步骤了,希望对大家有帮助。
喜欢22


